


Thank YOU! It's Customer Appreciation Week!
EXTRA 11% OFF Orders $100+ With Code: THANKYOU
EXTRA 11% OFF Orders $100+ With Code: THANKYOU


 Give a Cheer
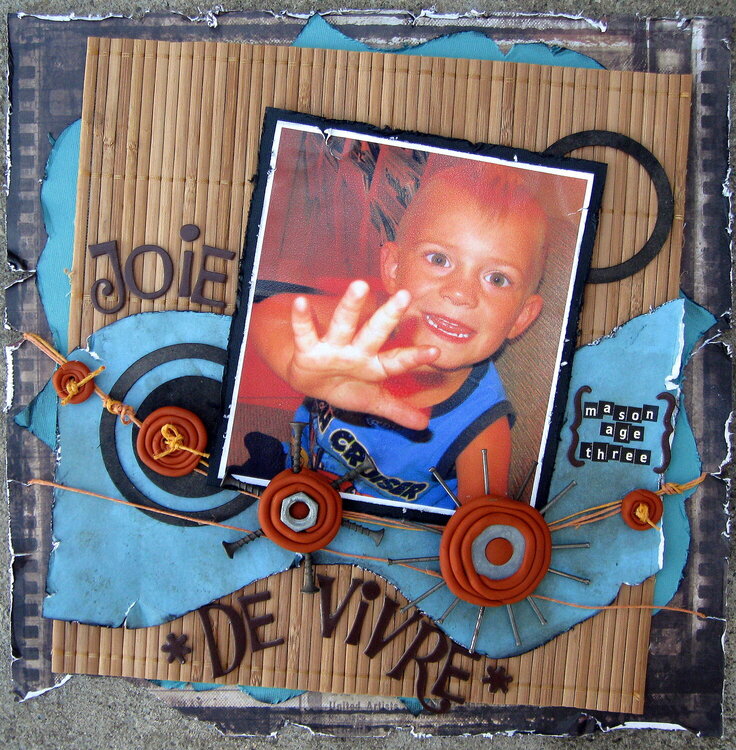
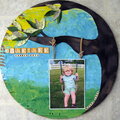
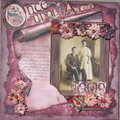
Pic is my ds, waving to the camera. The clay embellies are my own and can be seen up close here:
http://www.scrapbook.com/galleries/189351/view/2900935/-1/1.html
And here is a written how-to on them:
I don't have a photo tute, BUT they are easy and I can describe them:
You need: nuts/screws/nails/washers and clay (the kind you bake to harden)
*Form a small chunk of clay into a ball about nickel size..
*Flatten this with palm of your hand until you have a circle that is about 1/4" thick..
*Stick screws or nails into the sides to make "petals". Push them in deep enough so they feel snug..
*Press a nut/washer onto the top, so it stays.
*Roll another ball of clay into a long, thin coil.
*Wrap it around the center. Press it together so everything is sticking/staying in one piece.
*Bake @275 degrees for thirty or so minutes to set.
That is it! The buttons are just wrapped coils and I used a nail to stick holes in them.
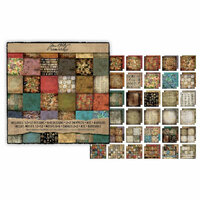
The chipboard circles are from Magistical Memories:
http://www.magisticalmemories.com/ProductDetails.asp?ProductCode=SNC

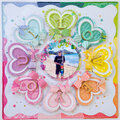


Thanks for spreading positivity!


September 17, 2010
September 16, 2010
September 14, 2010
September 12, 2010
September 10, 2010
September 07, 2010
September 06, 2010
September 06, 2010
September 06, 2010
September 06, 2010
September 05, 2010
September 04, 2010
September 03, 2010
September 03, 2010
September 03, 2010
September 03, 2010
September 03, 2010
September 03, 2010
September 03, 2010
September 03, 2010
September 03, 2010
September 03, 2010
September 03, 2010
September 03, 2010
September 03, 2010
September 03, 2010
September 03, 2010
September 03, 2010
September 02, 2010
September 02, 2010
September 02, 2010
September 02, 2010
September 02, 2010
September 02, 2010
September 02, 2010
September 02, 2010
September 02, 2010
September 02, 2010
September 02, 2010
September 02, 2010
September 02, 2010
September 02, 2010
September 02, 2010
September 02, 2010
September 02, 2010
September 02, 2010
September 02, 2010
September 02, 2010
September 02, 2010
September 02, 2010
September 02, 2010
September 02, 2010
September 02, 2010
September 02, 2010
September 02, 2010
September 02, 2010
September 02, 2010