Thank YOU! It's Customer Appreciation Week!
EXTRA 11% OFF Orders $100+ With Code: THANKYOU
EXTRA 11% OFF Orders $100+ With Code: THANKYOU


Be the first to cheer this project!

 Give a Cheer
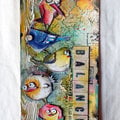
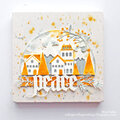
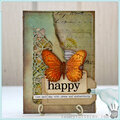
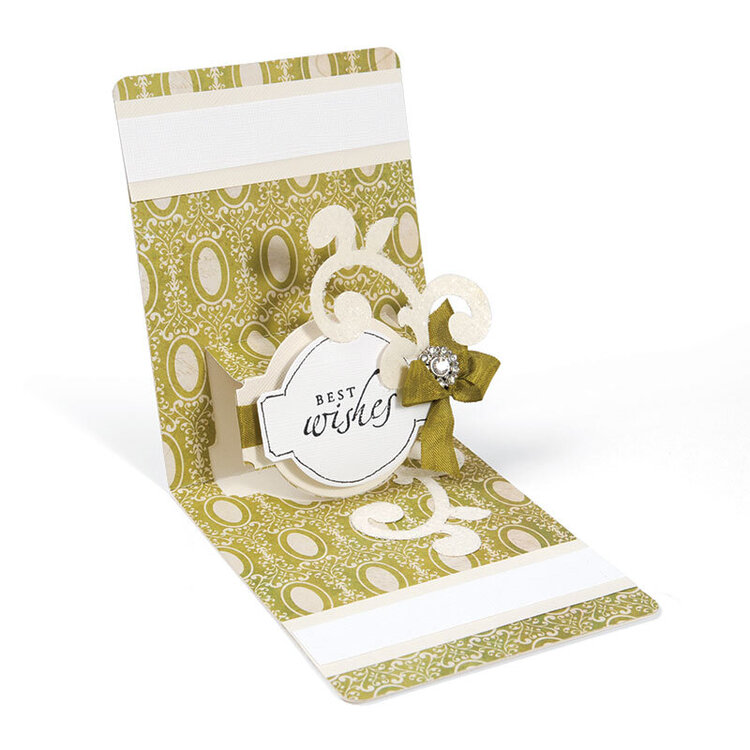
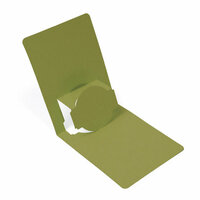
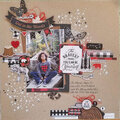
You've seen many creative cards in your time, but have you seen one like this? It combines many different design elements from our Pop 'n Cuts collection. Arrange them in your own artful way or follow the instructions below to replicate this refreshing project.
Place the magnetic Pop 'n Cuts Circle Label insert inside the base die, align the center fold of the insert with the center of the base die and die-cut the Card out of patterned paper. Fold along crease lines to bring the pop-up image forward as shown. Die-cut a Card cover for the insert using the Base die without an insert. For best results, trim the length of either the outside or inside Card. We trimmed the edges of the inside Card, then adhered Card inside and Card Cover together and layered cardstock and patterned paper strips near the seam to disguise it. Die-cut just the Circle Label portion of the design out of cream-colored cardstock and attach to the pop-up. Wrap a ribbon around the pop-up and tie in a bow. Die-cut a Label and Flourishes out of white- and cream-colored cardstocks. Stamp the Label with a sentiment and add a pen border detail. Attach to the Card using foam dots. Embellish the Flourishes with glitter and attach to the Card. Add a decorative metal accent to the bow. Finish by embellishing the Card front as desired.


Thanks for spreading positivity!