Storage & Organization up to 60% OFF!
Plus, a FREE Gift! | Details Here.
Plus, a FREE Gift! | Details Here.


Be the first to cheer this project!

 Give a Cheer
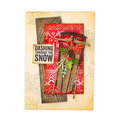
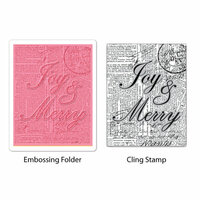
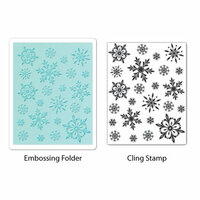
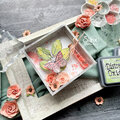
Send your very best this holiday season. It all starts with Sizzix dies and matching stamps designed by Hero Arts to make every detail just right.
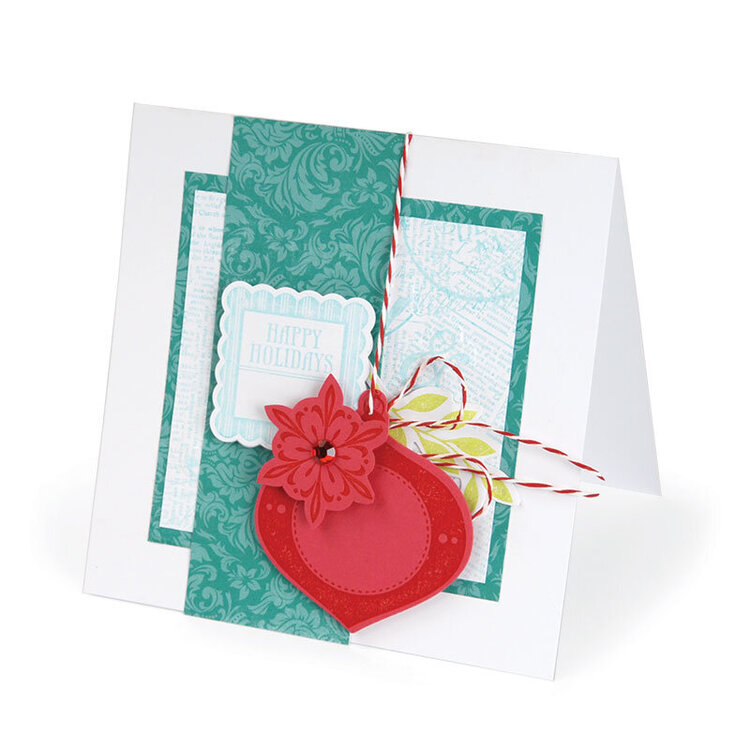
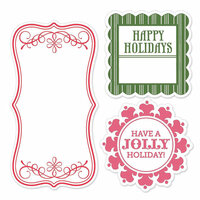
Cut cardstock to size and fold to form card base. Add the "Joy & Merry" cling stamp to a stamp mount. Apply ink to the stamp and stamp onto striped cardstock. Let dry. Align the corresponding embossing folder over the stamped image and roll through the machine to emboss. Trim to size, mat on patterned paper and attach to the card front. Cut a strip of patterned paper to fit across the card front and adhere in place. Stamp an ornament, frame with "Happy Holidays" phrase, snowflake and branch onto cardstock. Align the corresponding Framelits dies over the stamped images and die-cut. For ease of use, we recommend using a sticky note to hold the Framelits dies in place while shapes are being cut. Punch a hole in the large ornament. Embellish the snowflake with a jewel. Attach the shapes to the card front using foam dots to give select shapes dimension. Embellish the ornament with twine.


Thanks for spreading positivity!