Thank YOU! It's Customer Appreciation Week!
EXTRA 11% OFF Orders $100+ With Code: THANKYOU
EXTRA 11% OFF Orders $100+ With Code: THANKYOU
Be the first to cheer this project!

 Give a Cheer
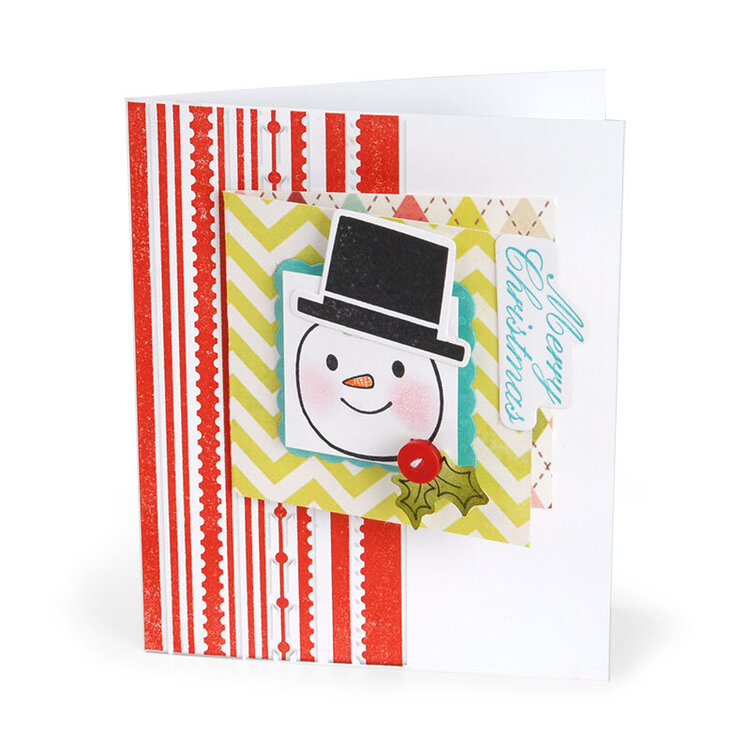
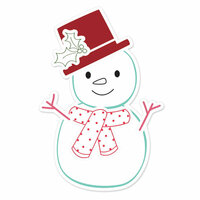
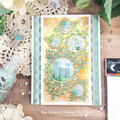
Theres snow card like a snowman card! Trust all your holiday expressions with creative tools from Sizzix. Just follow the steps below and you'll be melting hearts in no time.
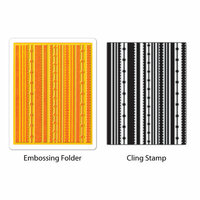
Cut cardstock to size and fold to form card base. Add the "Fun Stripes" cling stamp to a stamp mount. Apply ink to the stamp and stamp onto cardstock. Let dry. Align the corresponding embossing folder over the stamped image and roll through the machine to emboss. Trim the embossed paper to fit across half of the card front and adhere in place. Cut patterned paper to size and fold to form a mini card base. Attach to the card front. Stamp a snowman, his hat, leaves and the phrase "Merry Christmas" onto cardstock. Embellish the snowman face with chalk and pen. Trim the area around the snowman face into a square shape, mat on a piece of scallop square-shaped cardstock and adhere to the card front. Align the corresponding Framelits dies over the rest of the stamped images and die-cut. For ease of use, we recommend using a sticky note to hold the Framelits dies in place while shapes are being cut. Attach remaining shapes to the card front as shown. Embellish with a threaded button.

Thanks for spreading positivity!