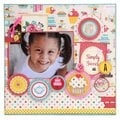
Storage & Organization up to 60% OFF!
Plus, a FREE Gift! | Details Here.
Plus, a FREE Gift! | Details Here.
Be the first to cheer this project!

 Give a Cheer
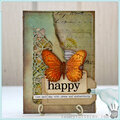
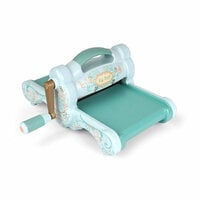
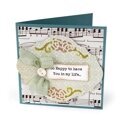
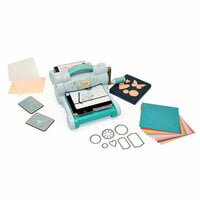
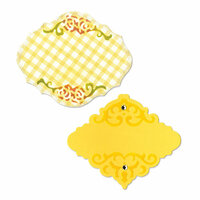
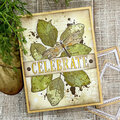
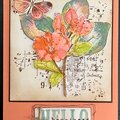
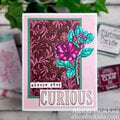
Send a happy note to those who make a difference in your life. It all starts with a playful layout and the right embellishments. Sizzix Thinlits Dies deliver all the details with an impressive range of elegant shapes from the easy to the intricate and a whole lot in between!
Other Supplies: Cardstock, Patterned Paper, Adhesive Foam, Button, Ink, Printed Sentiment, Twine
Cut cardstock to size and fold to form card base. Cut a piece of patterned paper to fit across the card front and adhere in place. Die-cut a Label out of cardstock and emboss the Label using the same Thinlits die used to cut the shape by combining the machine's included platform (when using the Essentials Platform or Solo Platform & Shim, the Extended Adapter or Solo Adapter is required) with an Impressions Pad and Silicone Rubber. Highlight the embossed designs using the Thinlits die as a stenciling template. Print a sentiment onto cardstock, trim to size, embellish with ink and attach to the Label. Embellish with a ribbon bow and a threaded button. Attach the Label to the card front using adhesive foam.

Thanks for spreading positivity!