


Storage & Organization up to 60% OFF!
Plus, Take an Extra 7% OFF With Code: STORAGE
Plus, Take an Extra 7% OFF With Code: STORAGE


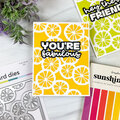
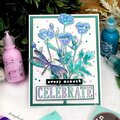
 Give a Cheer
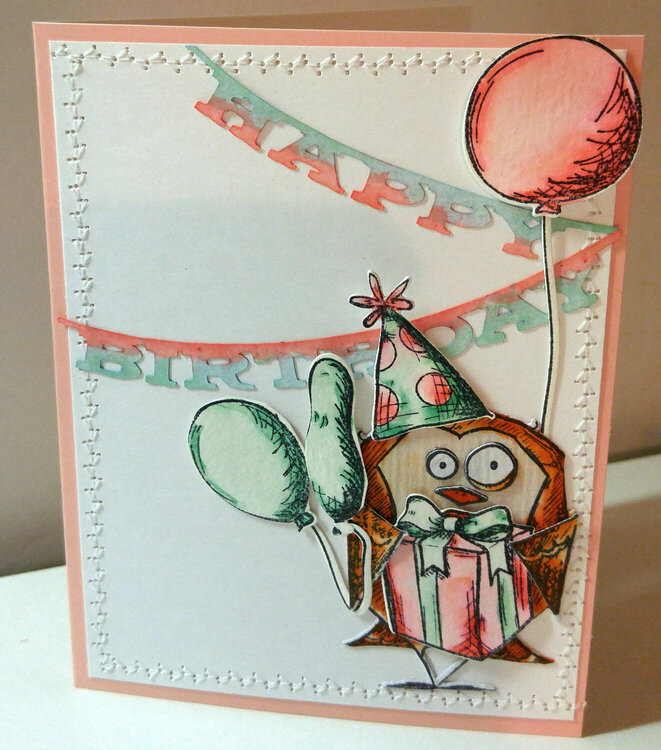
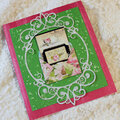
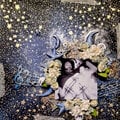
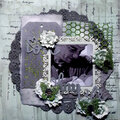
This card went together rather quickly, especially since I've had the peachy-pink card for quite a number of years. I couldn't even begin to guess where it came from, or why I have it!
I have found I rather enjoy adding a slightly smaller front' to my cards, it gives another layer without any real added bulk, and, to me, it helps the decorations' stand out.
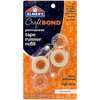
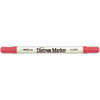
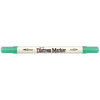
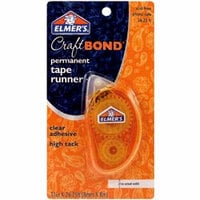
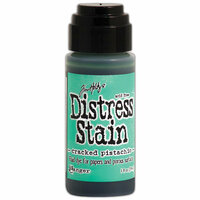
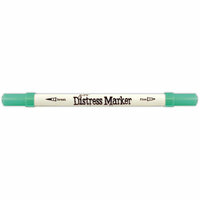
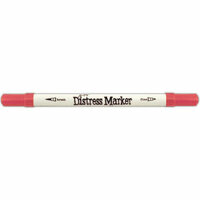
For this card I just cut out a piece of white card stock, 4x5.25, to fit on the front of the card and used a bit of glue, in this case Elmer's Permanent Tape Runner, in the center to hold it where I wanted it while I ran it through the sewing machine (Brother XR9500PRW). I found the Happy Birthday banner in the Silhouette Store, it's a Lori Whitlock design (here's the link: https://www.silhouettedesignstore.com/view-shape/12744), and I think it's very versatile, especially when cut out of white cardstock. When I had first cut the banner I didn't have any specific plans for it, but I realized that the Abandoned Coral Distress Marker and Stain would be a perfect match for the card! After I picked that color out I sat at my desk staring at my other color choices and decided a nice minty color would work, in this case, the Cracked Pistachio Distress Marker and Stain. I started with the Abandoned Coral Stain and dabbed it along the bottom half of Happy and the top half of Birthday, then used the Cracked Pistachio Stain on the other halves. After the stains were on I sprayed the pieces with water so the stains would interact and mix a bit! Then I used my heat gun, dried them, and set them aside so I could work on the bird.
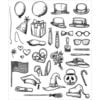
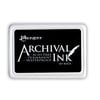
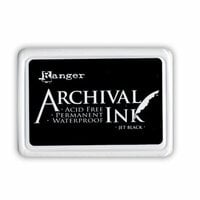
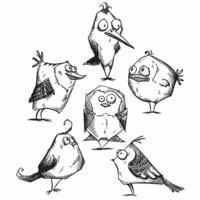
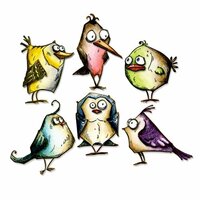
I had previously stamped out the Crazy Bird and Crazy Things images using Ranger's Black Archival Ink on some watercolor paper, and now it was time to fill them in! (I like to make a few sets of stamped images when I plan on working on multiple cards, that way I don't have to get the stamps out repeatedly or clean the stamps repeatedly.)
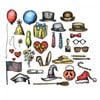
I shaded in the areas of the Crazy Things (hat, gift, and balloons) only in the areas that had the black cross hatch shading and then went in with my Ranger/Tim Holtz Water Detailer Brush to pull the color out into the white areas! That way I'd have a more dimensional look to the coloring! I used the same technique with the Crazy Bird, but I wanted the bird to be a brighter color, something that would stand out, so I selected the Carved Pumpkin Distress Marker!
After I dried all the Crazy pieces I ran them though my Big Shot, and I love the magnetic platform! Before I had it I used artist tape (a very light adhesive tape used to hold artwork to drawing boards) to hold the edges of my dies down! It worked, it was just more work for me! But, if you don't have the magnetic platform and find yourself wanting to make sure your dies don't slide, artist tape (or any light adhesive tape) works great!
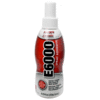
After everything was cut and ready to go I started assembly on the card! I used E6000 spray adhesive for the banner pieces, Ranger Glossy Accents for the eyes and beak, and hot glue for everything else, but this is the order I put them on. When assembling the bird I prefer using hot glue when I add the wings, that way I can angle them up, and I don't have to hold them long before the glue sets! I should also note that I use a low heat hot glue gun, I've never had the glue cause me blisters or even redness, although I have had to switch hands when holding a flower together waiting for it to set up. It can be uncomfortable, but I don't worry about burning myself!

Thanks for spreading positivity!


February 24, 2016
February 17, 2016
February 17, 2016
February 17, 2016
February 17, 2016
February 14, 2016
February 07, 2016
February 06, 2016
February 06, 2016
February 04, 2016
February 04, 2016
February 04, 2016
February 04, 2016
February 04, 2016
February 04, 2016
February 04, 2016
February 04, 2016
February 04, 2016
February 04, 2016
February 03, 2016
February 03, 2016
February 03, 2016
February 03, 2016
February 03, 2016
February 03, 2016
February 03, 2016
February 03, 2016