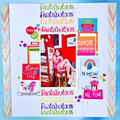
Thank YOU! It's Customer Appreciation Week!
EXTRA 11% OFF Orders $100+ With Code: THANKYOU
EXTRA 11% OFF Orders $100+ With Code: THANKYOU
Be the first to cheer this project!

 Give a Cheer
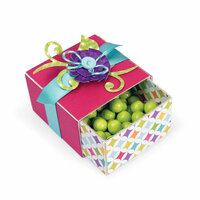
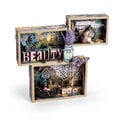
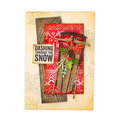
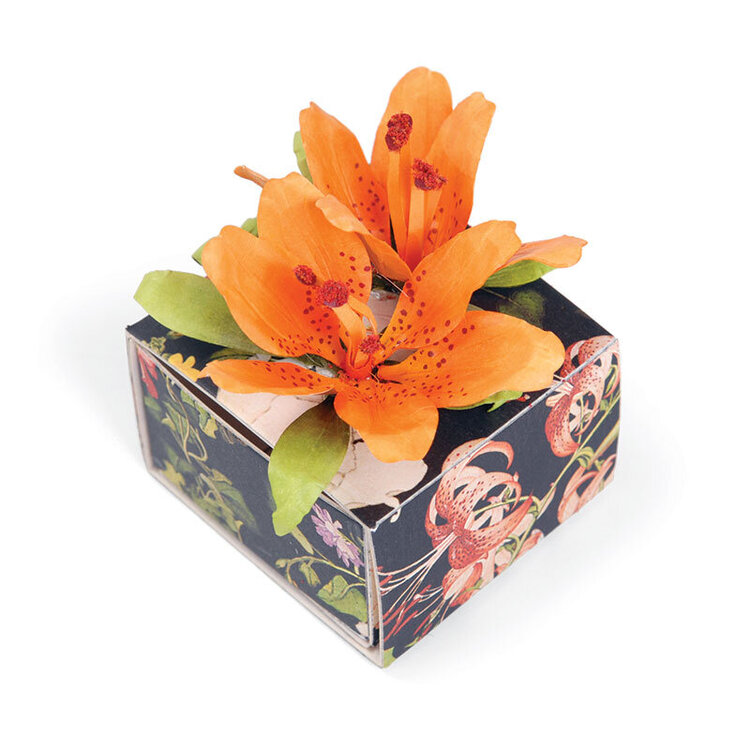
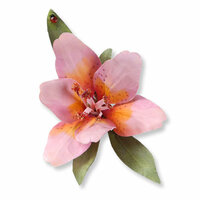
Thanks to the designs of Susan Tierney-Cockburn, you can grow your creativity almost anywhere including gift boxes!
Adhere patterned paper to mat board and die-cut Candy Drawer Box. Fold along score lines to
Die-cut Lily petals (twice for six petals) in your favorite color in cardstock. Die-cut leaves in a medium green and the calyx and stamen in a bright green.
Add shading and "freckles" using PanPastel chalk and Copic Markers.
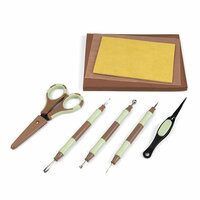
Shape, line, pinch and bend petals as per general Lily assembly directions (available in PDF or video format).
Cup the calyx. Dip the stem end of each petal in glue and adhere to the calyx, placing three alternating petals and then, the final three a little further toward the center. Allow flower to dry in a Flower Pot.
Dot ends of the stamen with Copic Marker R59 or R57 as shown.
Use a toothpick to place a small dab of glue on one end and at the opposite end, using your tweezers, roll up the stamen and seal.
Use a toothpick to apply a small amount of glue to the fanned ends of the stamen and sprinkle with russet-colored Woodland Scenics Pollen.
Place leaves on the Leaf Pad and using the etching tool, draw two to three lines lengthwise down the leaf. Pinch and bend leaf as per general directions.
Adhere completed flower onto the Box and tuck leaves around it to finish.
Other Supplies: Cardstock, Patterned Paper, Copic Markers, Crafter's Pick "The Ultimate" Glue, PanPastel Chalk, Woodland Scenics Pollen


Thanks for spreading positivity!