


Die Cutting on Sale All Week!
Take an Extra 11% OFF Orders $100 or More With Code: SMILE
Take an Extra 11% OFF Orders $100 or More With Code: SMILE


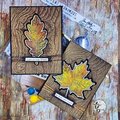
 Give a Cheer
You can find my YouTube tutorial here- https://youtu.be/g-QNHCoJlrw?si=520D6QVH6CHJTU9a
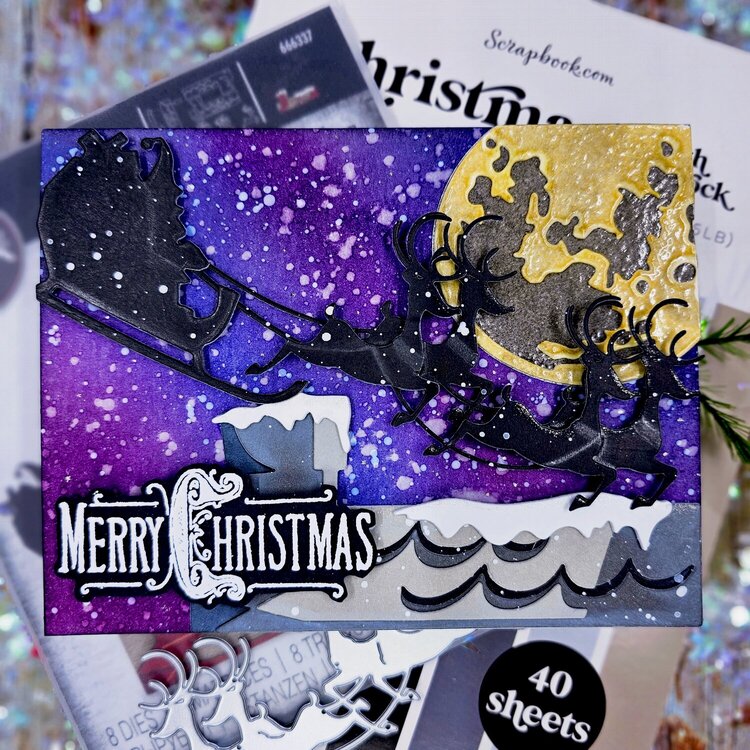
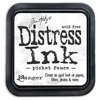
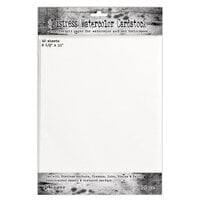
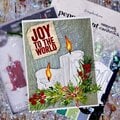
To create this card I started with a piece of watercolor cardstock cut to an A2 size, then using my Distress inks in Chipped Sapphire and Seedless Preserves I inked it up alternating between colors until I had my desired blend. Next, I used Distress ink in Black Soot and went over the background and all around the edges. I used a paintbrush and splattered plain water onto the background, I let it sit for a few seconds, then hit it with my heat tool for a couple of seconds, and then blotted up the water with a paper towel. I then used some watered-down white paint and splattered that onto the background and set it aside to dry.
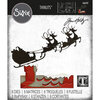
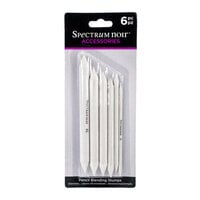
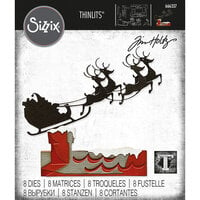
Next, I decided on what colors I wanted for my die cuts of the house, and Sleigh and Reindeer using the Scrapbook.com Christmas cardstock pad helped make sure everything was coordinated. I cut out all of my die pieces. For the house I doubled up the top 2 layers for Santa and Sleigh I doubled and cut two extra deer. I used watercolor cardstock to cut the snow and I cut 3 of each of those and then stacked them together. I assembled my rooftop added the snow and set it aside. For the reindeer I glued together the two full pieces then I used a pencil just to draw a few highlights I did the same with the two extra deer after adding the highlight I used a blending stump and just softened my pencil lines. I used black foam tape on the back of the two single deer and added those to the top of the others. I glued the two Seligh pieces together and again used a pencil to add highlights and blended it out then attached the reindeer to Seligh. I laid the rooftop/house and Sleigh with reindeer on my media mat and used the watered-down white paint to add a bit of splatter to those and set them aside to dry.
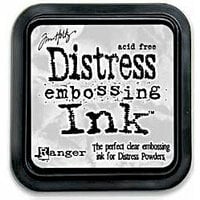
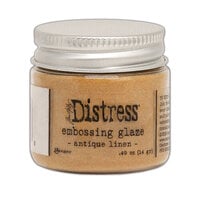
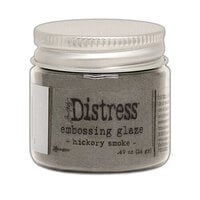
For the moon, I cut out my two moon pieces from watercolor cardstock. I used embossing ink on the base moon then Tim Holtz Embossing glaze in Hickory Smoke on that. For the top layer, I repeated the same as I did for the base but instead used Antique Linen Embossing glaze first after that was heat embossed I dabbed a bit of embossing ink on it in random places and then used Lost Shadow embossing glaze and heat embossed that. I then attached the two together.
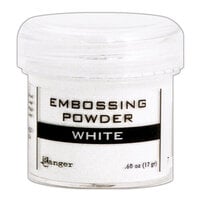
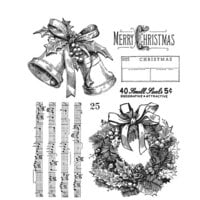
Now my background was dry so I laid everything out where I wanted it and attached it to the background. I had some hangover from the moon and sleigh so I flipped the background over and trimmed it off. I then attached my background to an A2 card base. I now needed a sentiment so I used the Merry Christmas Stamp from Tim Holtz Stampers Anonymous Department store and stamped it with embossing ink then used white embossing powder to heat emboss that. I fussy cut around that then attached it to the card front using black foam tape. I still thought it needed some sparkle so I used a glitter gel pen and added some highlights where I thought the moon would hit the snow on the roof and the reindeer. I also added dots using the same gel pen around the background to look like stars.


Thanks for spreading positivity!


October 15, 2023