


 Give a Cheer
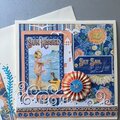
1. Using my cricut I chose what size circle I wanted. Using the circle as my guide I chose a circular border which I duplicated, sized, and moved them so the stars and circles did not touch. I changed the borders to be drawn instead of cut, chose the colors, and attached the circle and borders.
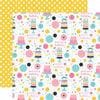
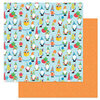
2. I wanted to use bright, primary colors and chose 4 prints that went together well. Using a wavy border (Cricut) I cut the 4 prints and attached them under the hole so the waves were different for each. I used hemp cord to outline the waves to look more finished and give it dimension.
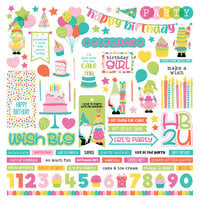
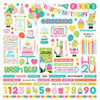
3. The title was cut from white vinyl due to how small and delicate the font was, and placed along a strip of hemp. The large photo was matted on green, the birthday boy's favorite color and placed off center. (No, we don't know why there is a green tint on a face.) The smaller, b/w photo was trimmed from a 4x6 and placed under the larger one. I cut a strip of pennants apart and placed 3 on each side at the top, with a 33 to show the age. To finish the layout I placed 4 stickers on the drawn borders using foam dots.


Thanks for spreading positivity!


November 16, 2025
August 29, 2025