Thank YOU! It's Customer Appreciation Week!
EXTRA 11% OFF Orders $100+ With Code: THANKYOU
EXTRA 11% OFF Orders $100+ With Code: THANKYOU

Be the first to cheer this project!

 Give a Cheer
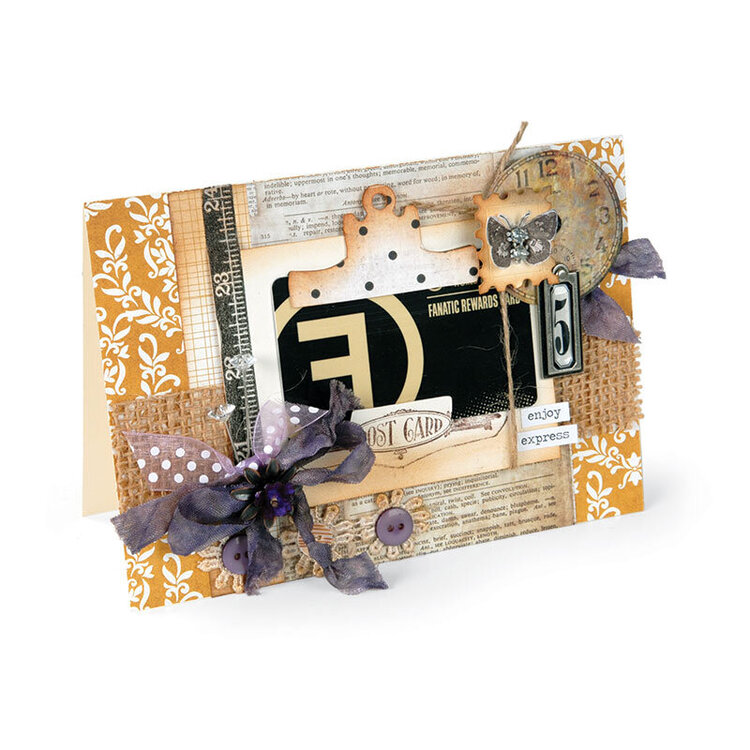
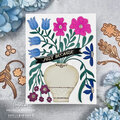
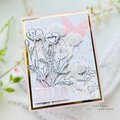
"E" is for "enjoy" and "express" and the "eclectic" approach you can take with the Tim Holtz Alterations line of products for Sizzix. Combine many different creative elements and capture your passion!
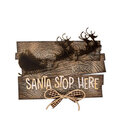
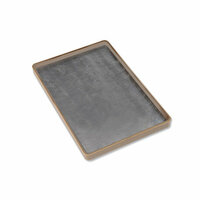
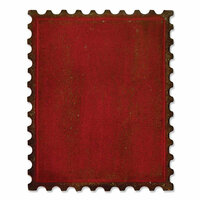
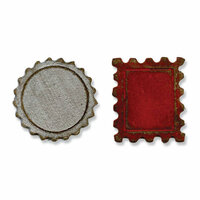
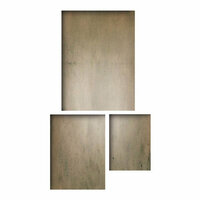
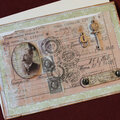
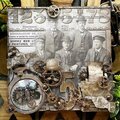
Cut cardstock to size and fold in half to form card base. Layer two patterned papers, embellish with ink and attach to the front of the card. Cut a strip of burlap to fit across the card front and adhere in place. Attach a ribbon to the card front. Center a recycled decorative gift card (or die-cut a piece of patterned paper using the ATC die) onto piece of cardstock, mark where the edge of the card hits and die-cut a slit for the card to sit using the Movers & Shapers Mini Clipboard Bottom and Base Tray. Ink the edges of the "Clipboard" cardstock and stamp with a design. Die-cut the Mini Clipboard Top out of patterned paper using the Movers & Shapers Magnetic die and Base Tray, embellish with ink and attach to the Clipboard. Secure the gift card in place. Wrap a length of twine around the Clipboard and tie into a knot. Attach to the card front. Embellish with appliqué accents, buttons, ribbon decorative straight pints, metal accents, paper clock, and stickers. Die-cut a Mini Stamp out of cardstock, embellish with ink, a paper butterfly and jewels. Attach to the card front using adhesive foam.


Thanks for spreading positivity!