


Cheers
Be the first to cheer this project!
Give a Cheer
Be the first to cheer this project!

 Give a Cheer
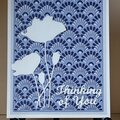
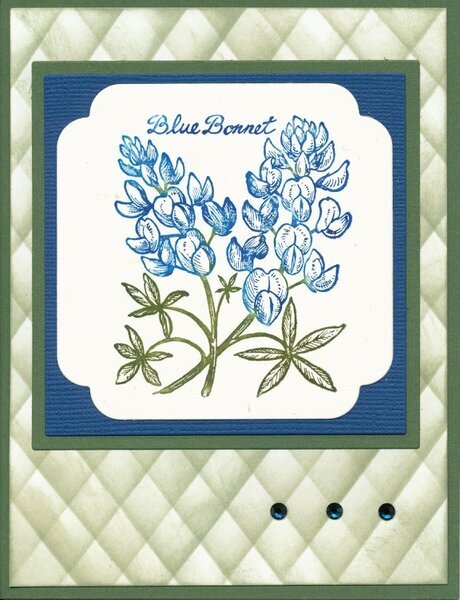
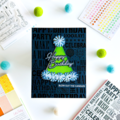
I watched a Gina K video tutorial on making a Pillow-Top background and loved what I saw. http://stamptv.ning.com/video/pillow-top-background [stamptv.ning.com]
Both Nora S and I have tried this, and we both had the same experience. The second time we did it, it turned out much better. I think that with very little practice, it will always come out looking like a puffed pillow top. Here's Nora's card: http://www.scrapbook.com/galleries/967511/view/4634287/-1/144/0.html
ETA: Here's a link to a second post with the directions written out and some tips:
http://www.scrapbook.com/galleries/13464/view/4938315/-1/72/0.html
CARD:
4 1/4 x 5 1/2
Bazzill cardstock--base and mats
Spellbinder's Nestabilities Labels 12 and Classic Squares
BACKGROUND:
Neenah Solar White Cardstock
Distress Ink, Bundled Sage
Tools: Clear Plastic and Tim Holtz Ink Applicator
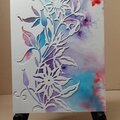
The first time I did this, my lines were unevenly spaced. I noticed that I liked the ones that were further apart because they allowed more white space which adds to the dimension. You can see my first try in the second scan.
The second time, I used a ruler to space the lines 3/8" apart and I was better at inking the lines. I found that if I concentrated on just inking next to the plastic, it turned out better. I know that after doing this a couple of times, I won't need a ruler and the application of ink will be smoother.
FOCAL IMAGE:
PSX Blue Bonnet
Tombow Markers, Direct-to-Rubber
140-lb. hot press watercolor paper
EMBELLISHMENTS:
Swarovski Flatback Rhinestones, SS16, Montana
Sakura Quickie Glue Pen
TFL.
Daria
No products have been added to this project.
Thanks for spreading positivity!