FREE Standard Shipping on Orders $69+ with code:
FREESHIPPING
Be the first to cheer this project!

 Give a Cheer
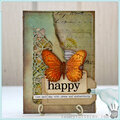
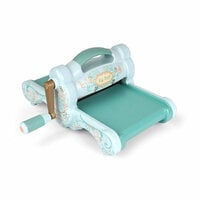
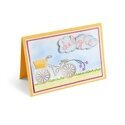
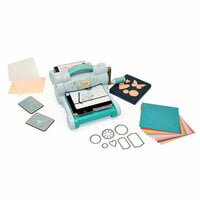
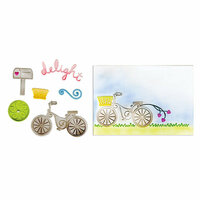
Get up to speed and take a ride to this whimsical creation. With a Framelits Die Set from Sizzix and matching cling Textured Impressions Embossing Folder set, you can design a beautiful masterpiece that offers exact cuts around your embossed images.
Other Supplies: Cardstock, Patterned Paper, Adhesive Foam, Blending Tool, Chalk, Glitter, Ink, Markers
Cut cardstock to size and fold in half to form a card base. Emboss a piece of cardstock using the Bicycle embossing folder and trim around grass and Bicycle to create a mask. Emboss a second piece of cardstock. Line up design and lay mask piece over embossed image. Using a blending tool, apply ink or chalk to the cardstock around the Bicycle and out to the edges. Remove mask. Apply ink or chalk with blending tool to Bicycle and grass. Add details to grass and Bicycle with markers. Mat embossed image on two colors of complementary-colored cardstock and attach. Emboss bicycle basket, clouds and the word "delight" onto cardstock and patterned paper. Align the corresponding Framelits dies over the embossed images and die-cut. For ease of use, we recommend using a sticky note to hold the Framelits dies in place while the shapes are being cut. Embellish with chalk, glitter and ink to highlight the raised designs. Attach using adhesive foam to give the clouds dimension.
Thanks for spreading positivity!