






Be the first to cheer this project!

 Give a Cheer
Theres something especially striking about a monochromatic card when texture is allowed to do the heavy lifting. In todays project, I leaned into a warm coral palette and layered stitched patterns, delicate die cuts, and subtle metallic accents to create a card that feels cohesive, intentional, and quietly elegant.
By combining ink blending, dimensional die cutting, and sewing-inspired elements, this design proves that a limited color palette doesnt have to feel flat. Instead, it creates the perfect backdrop for detail, contrast, and thoughtful layeringmaking it ideal for quick cardmaking sessions that still feel elevated and refined.
How to re-create this card:
Create a white, top-folding A2 card base and set aside.
Die cut an A2 panel of white cardstock using the Stitch Basket Weave coverplate die.
Ink blend the panel:
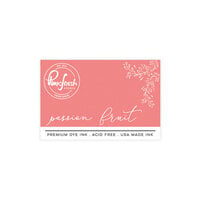
Begin ink blending from the lower left corner upward using Coral Reef ink.
Blend Passion Fruit into the Coral Reef to deepen the color.
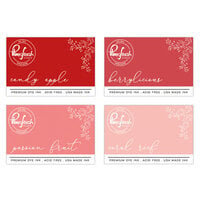
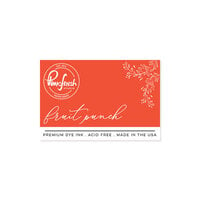
Add a small pop of Fruit Punch ink in the very corner for brightness.
Leave the upper right portion mostly white for contrast.
Adhere the ink-blended panel to the prepared card base using liquid glue.
Die cut a Heritage Lace die from white cardstock. Apply double-sided tape to the back of the die cut to keep all delicate pieces intact. Adhere the lace die cut directly onto the card front.
Color the sewing elements using the Stitch Edit: Makers Essentials stencil set:
Stencil 1: skip
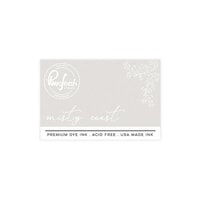
Stencil 2: Misty Coast + Rocky Slope
Stencil 3: Coral Reef, Passion Fruit, Fruit Punch
Die cut the images with the coordinating die.
Die cut the spool and ink blend with Coral Reef and Passion Fruit.
Die cut the thread using the Notion Story die. Ink blend the thread with Passion Fruit, adding Fruit Punch along the edges for definition.
Adhere the spool and thread to the card front using liquid glue.
Die cut two rectangle postage edge dies from white cardstock. Use mint tape to mask off the outer edges. Ink blend the center lightly with Misty Coast ink. Remove the tape, stack the two die cuts together, and adhere them to the card using foam tape.
Adhere the scissors and needle with liquid glue. Adhere the thimble with foam tape for added dimension.
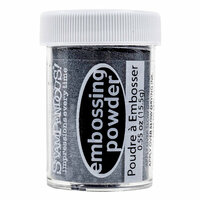
Stamp the sentiment from Thread Full Florals using VersaMark ink. Heat emboss with Detail Silver embossing powder. Die cut the sentiment and stack it with two plain white die-cut blanks. Adhere the sentiment to the upper right corner of the postage panel using thin foam tape.
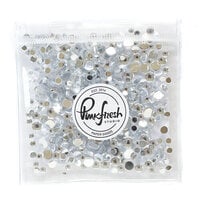
Finish the card by embellishing with six clear drops, scattering them lightly around the focal area. (shhhh, most of mine are covering errant ink spatters)


Thanks for spreading positivity!