Have you ever wanted to create a gorgeous, memorable mini album but didn't know where to start? We have 10 amazing video tutorials to inspire and instruct you on building a beautiful album from start to finish.
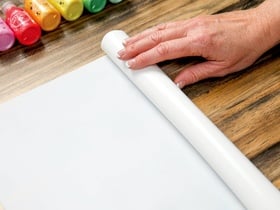
These Scrapbook.com Exclusive crafting mats will change the way you craft! From die-cutting to ink blending these mats will make a world of difference. Each mat is unique in its own way and we are here to tell you how!
Do your craft supplies need an organization overhaul? Then start with this ultimate guide to top-rated, customer favorite storage and organization solutions.
Are you cleaning your supplies the right way? Scrapbook.com has compiled the definitive go-to guide for cleaning, organizing, and caring for your favorite craft supplies.
Catherine Pooler ink pads are premium water-reactive dye inks designed for effortless stamping, smooth ink blending, watercolor techniques, and vibrant cardmaking. Featuring four coordinated collectionsParty, Spa, Neutrals, and Metallicsthese...
Scrapbooking is a fun and creative way to document your life and preserve your special memories. It's also a great way to express yourself and share your story with others. Whether you're a beginner looking to learn the basics or an experienced...
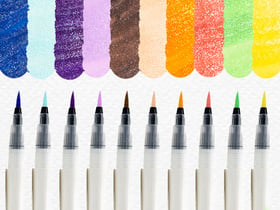
Whether youre brand-new to ink or youve been blending for years, this guide breaks down every Lisa Horton ink typewhat it is, how it behaves, which tools to pair with it, and the techniques it loves. Youll also find quick product overviews and...
Check your list and check it twice - Scrapbook.com's 2025 Holiday Gift Guide has everything you need to check this season's top crafty tools and supplies off everyone's Christmas lists (including your own!).
Not sure which Simon Hurley Ink Pad is right for you? This guide breaks down the differences between the original Simon Hurley Ink Pads and the brand-new Stellar Ink Pads, both featuring the same beloved dye ink formula. From felt vs. foam pads to...
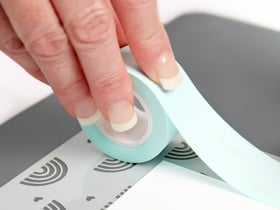
Everything You Need to Know About Scrapbook.com’s Magnetic Upgrade to the Original Magic Mat® (Patent Pending)
What is the Magnetic Magic Mat?
The Magic Mat you know and love just got even more magical! Scrapbook.com has reimagined...
Scrapbook.com has been named one of Newsweeks Americas Best Online Shops for 2025! This recognition highlights our dedication to providing delightful service, a safe and secure shopping experience, and a promise to ship your orders quickly. Above...
Join Stacey Park as she guides you through creating a dazzling gift tag using her Tag Project Kit and Microfine Glitter! Discover tips and techniques for applying ultra-fine glitter to add shimmer and shine to your projects!
World Card Making Day is back - and we've hand-selected some of the best cards created in 2025 (so far!) to showcase. See what other card makers have created and get inspired!
We want to express our sincere gratitude to our employees for their hard work and dedication. Your contributions have earned Scrapbook.com recognition as a Top Workplace in Arizona.
SBC Fest Classes:
Laura Graff
Tiffany Solorio
Justin Adkins
Meghann Andrew
Miss. Carrie
Gina K.
Helpful Tips and Guidelines:
Keep the comments kind and uplifting!
SBC Fest begins on Friday, March 14th at 8 AM PST / 11 AM EST.
SBC Fest will...
Welcome to Creative Kindness Week 2023! Creative Kindness® Foundation is a non-profit organization founded by Scrapbook.com. Creative Kindness® works with a variety of organizations through our programs. For Creative Kindness Week 2023, we are...
These Scrapbook.com Exclusive crafting mats will change the way you craft! From die-cutting to ink blending these mats will make a world of difference. Each mat is unique in its own way and we are here to tell you how!
Scrapbook.com began in 1999 as a passion project by Jill and Charlie Davis to create a welcoming online space for crafters to share, learn, and find high-quality supplies. From humble beginnings in Mesa, Arizona, it has grown into the worlds...