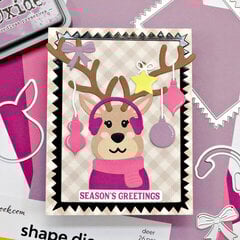
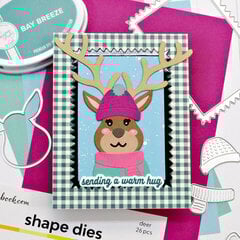
Get into the festive spirit with the Christmas Stocking Bundle! This jolly set includes a nested stocking die set, perfect for creating stockings in 7 sizes, including the perfect size to hold a gift card. Also included are the charming Christmas animal rub-ons, with cozy critters opening presents and gathering around the tree, and the Christmas banner die set that say “Noel” and “Merry Christmas”. Whether you’re crafting heartfelt Christmas cards, handmade gift card holders, or holiday layouts, this bundle will bring warmth to every creation.
Contents:
- 20 thin metal dies
- 2 pages of Christmas Animals I Rub-ons
Sizes:
- Stocking sizes vary from .54" to 5.6" in width and .65" to 6.8" in height
- Tops to the stockings vary in size from .40" to 4.25" in width and .26" to 2.7" in height
- Each banner when complete is 4.3" x 1.1"
- Rub-on sheets measure 6" x 8"
Dies are compatible with: Most leading die cutting machines
What materials can be die cut?
- Paper
- Cardstock
- Vellum
- Foil
- Other thin materials
How to use with a die cutting machine (sold separately):
- Insert the base platform
- Insert the Clear Cutting Plate
- Add your cardstock, foil or other material you wish to cut
- Add your die atop your material of choice, with the blade side towards the material
- Add your second Clear Cutting Plate on top of that to create a "sandwich"
- Run your die through your machine
Rub-On Features:
- Seamless blending to paper
- Transferable to any smooth surface (ex. paper, wood, fabric, glass, mirrors, calendars, Bible journaling, etc.)
- Easy to use
- Lignin Free
- Mix and match to create something new
- High quality
- Great for scrapbooking, cardmaking, DIY and more!
How to Use Rub-On Transfers:
- Select which image you would like use, and cut around the image.
- Remove protective backing and place the image facing up on your paper surface. (Be careful of where you place the rub-on after the backing is removed. The rub-ons come off easily and can tear the image before you are ready to set the image down.)
- Take your popsicle stick (included) and gently rub the image onto your paper. As an alternative method, run your paper with the rub-on through your die cut machine! To do this, use your typical sandwich with your favorite die cutting machine.
- Be sure to check the rub-on has rubbed off completely before lifting the acetate off of your project. Slowly lift the acetate up while holding one side down with one hand.
- Remove the plastic acetate sheet and enjoy!
- If the image did not transfer all the way, place the image back down. Line it up with the existing image, rub a second time with your tool, and then remove the acetate sheet.
- To get the best results, do not use rub-ons on textured paper.
Number of pieces: 22
This is an exclusive Scrapbook.com product.