
As the founder of Scrapbook.com, Jill Davis has acquired extensive experience with properly organizing her craft space. She and organizational expert Stacy Boatman have joined forces to provide you with key organizational insights to help you tackle even your toughest craft organizational conundrums. Explore and shop the entire Scrapbook.com store for all of your album, page protector, and craft storage, and organization needs!
Materials Needed for Organizing Chipboard, Albums, and Page Protectors
- Sturdy Containers
- Spare Album (Use for storing extra page protectors)
- Label Maker
The Challenge of Organizing Chipboard, Albums, and Page Protectors
Getting all of your printed and raw chipboard pieces into a system that correlates with how you think and craft may be challenging until your system has had all its bugs worked out. You'll also be designating a place in your craft studio where you will store completed albums, empty albums, and their page protectors.
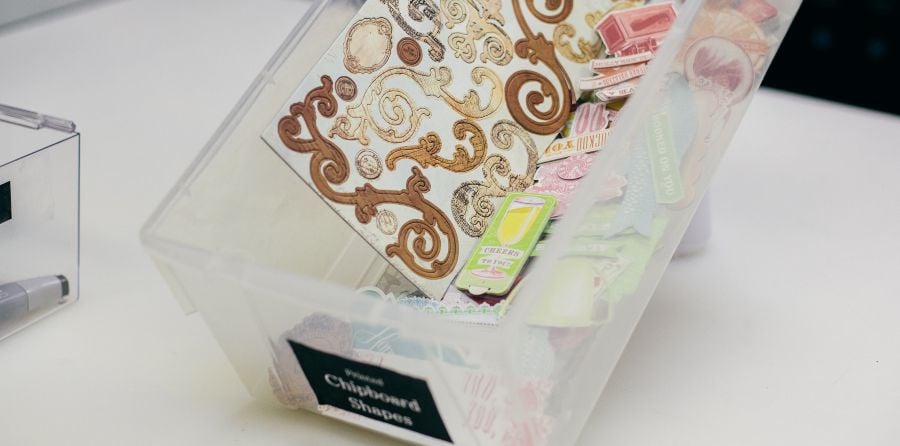
First, let’s talk about HOW to organize chipboard. You’ll need to decide whether to keep pieces in their packages (in their sheet form) or break them apart into individual pieces. This is a matter of personal choice and may even be dictated by your space: sheets are going to need a good 12" x 12" space for storage. Smaller pieces of chipboard can go into smaller containers that stack vertically. Keep that in mind. If you know your manufacturers or have a small amount of chipboard, storing on the sheets is feasible. But if you have a large amount and can’t remember who makes what (say you just want a large chipboard daisy), then breaking up your sets may work best.
A second issue to consider is how to categorize your chipboards: by manufacturer or theme. If you know who makes what, then sort by manufacturer. However, if you are looking for a chipboard frame with a star on it, then sort by theme. It will make your life easier to have all your like pieces together. Some themes include frames, seasons, brackets, scrolls, floral, hearts, stars, etc. Go through what you have and assess what you have a lot of. Start making “like” groupings which will help dictate the categories you need and how many storage boxes to purchase.
Now, alphas are another story. You can choose to store your chipboard alphas with your chipboard or with your other alphas. I think it makes more sense to store them with your alphas. If you are a fan of keeping your manufacturers together, then storing like with like will be best.
Finally, let’s talk about blank sheets of chipboard. I think every scrapper has a supply of chipboard, and it might be located in multiple places in your studio. The best solution I’ve found for storage is to treat it like you treat your paper. So, if you use vertical paper trays, dedicate one to chipboard. Chipboard is also nice for its ability to stack upright on a shelf without bending. A bookend might be needed to keep it from tipping over. File cabinets are also another option.
Now that you have an idea of how to organize your chipboard, let’s consider appropriate containers! Remember, if you’re keeping the original packaging, then you need to accommodate the bulk of chipboard and its 12" x 12" size. Some options, like hanging zip-style bags, may not be strong enough to hold the weight. You will need as many containers as you have themes or manufacturers. Also, plan for future purchases too. Here are some options to consider:
- Clear Plastic Shoe Containers
- Hanging Zipper Bags (Clip from rails or pants hangers.)
- Page Protectors in a 3-Ring Binder
- Multi-drawer chests
- Over-the-Door Organizers
- Photo Storage Boxes
Stacy’s main storage method is a storage cart with the snap-top lid drawers. Each drawer unit comes apart and can be stacked on top of another. She stacks them under each side of her standing work table. She breaks them down by themes, one theme per box, and each box is labeled.
If you have the ability to die cut your own chipboard pieces, you may not have a big stash of manufactured pieces to organize. I struggled with this area of my craft space for a long time, because I wanted to have all of my chipboard (printed and raw shapes, alphas and sheets) in one place. However, I couldn’t make it happen with my space and workflow. You may struggle like this with areas in your space, too. Just know it’s a normal part of the organizing process. You will find solutions, I promise.
I ended up keeping my alphanumeric system in place, not modifying it, when I got to the organizing challenge this week. I had a bin of raw chipboard alphas that was too large to incorporate into my loose alphas that are in altered cigar boxes and in files by color. So, I opted to keep them in the closet with my raw chipboard supplies until both stashes can be used up, providing more room for me to store them in with my other alphas. Yes, I’m on an alphanumerical moratorium.
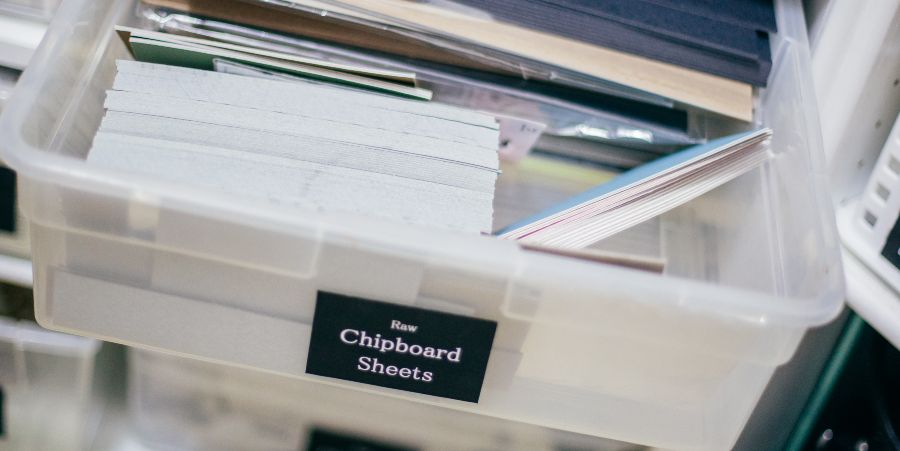
 Organizing Chipboard Sheets
I placed chipboard sheets in a large bin on a shelf in my closet. The bin they’re in works like a drawer, so I can pull it in and out to get pieces I need when die cutting. My Sizzix Big Shot die cutter is on the counter above, with the machine accessories and adapter pieces in a bin on the top shelf.
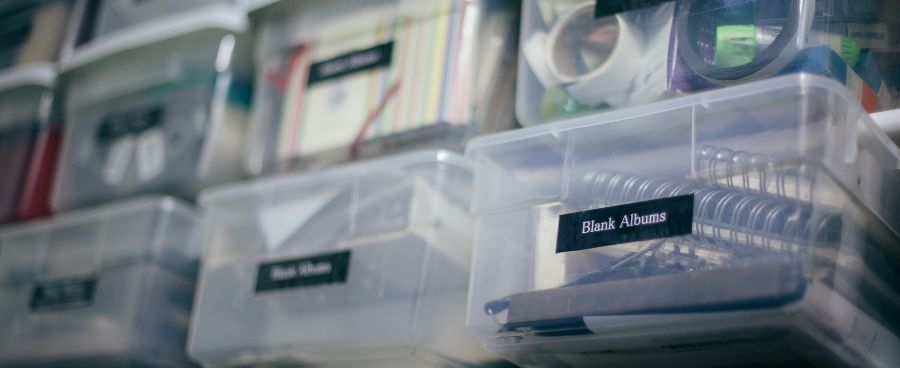
Organizing Chipboard Albums
Also in this closet are large and mini chipboard albums. They are stored in plastic containers on shelves.
Organizing Albums and Page Protectors
What to do about larger albums and their page protectors? Some scrappers store their page protectors and extra albums where they display their completed scrapbooks, while others keep spares in a separate area of their studio. I keep my empty albums (that match our family scrapbook collection) in the family room with completed albums. These albums are there so our collection can grow, and I’m comforted knowing I’ll have enough, even if the manufacturer discontinues the style I chose. Page protectors for those albums are stored inside them. Extra 12" x 12" and specialty page protectors are in Cropper Hopper paper containers in my cardstock and patterned paper center. I like to keep them near my island where I do most of my work. They’re quickly accessible as I finish layouts so I can place them in albums right away. Any extra page protectors for my mini albums are in the closet with those albums.
Looking for ideas on organizing albums that have been completed? Jennifer Wilson of Simple Scrapper shares her album chronological and non-chronological organizational system in her article called Current Status of My Albums.
Recap on Organizing Chipboard, Albums, and Page Protectors
It’s an amazing feeling to have chipboard shapes and alphas in a system that lets you find and use them with ease. While the decision of how to sort, organize and contain these supplies might be challenging, it’s worth the effort.
Hooray! Your chipboard, extra albums, and page protectors will soon be easy to find when you need them.
Check out these other great organizational article options...
How to Organize Tools, Adhesives, and Equipment
How to Organize Alphas and Numbers
This article is based on a lesson from our free class called Get Organized. You too can become an craft space organizational pro by learning the ins and outs and the dos and don'ts! Sign up for Get Organized today and discover a new and better way to craft.


