There are plenty of ways to add personality to a handmade card — glitter, ribbons, texture paste, layered die cuts — but heat embossing has a way of making people stop and stare.
It’s one of those techniques that looks fancy the first time you see it. The shiny finish. The raised texture. The way the powder melts right before your eyes like magic. And somehow it always makes people ask:
“Wait… how did you DO that?”
The good news? Heat embossing is surprisingly easy once you know the basics. You don’t need years of stamping experience or a room full of supplies. Just a few tools, a little heat, and you’re about to unlock one of the most satisfying techniques in paper crafting.
Whether you want crisp sentiments, elegant metallic shine, bold backgrounds, or watercolor-resistant outlines, heat embossing can completely transform your projects.
Let’s walk through everything you need to know.
What Is Heat Embossing?

There are actually two kinds of embossing in papercrafting.
The first is dry embossing, which uses embossing folders and a die cutting machine to press a raised design into paper. You can learn more about that technique in Embossing Machine Vs. Die Cutting Machine? How Your Machine Already Does Both.
In this article, we’re talking about heat embossing — the technique that uses sticky ink, embossing powder, and heat to create a raised, melted finish on your stamped images and sentiments.
The transformation is part of what makes this technique so addictive. Before heating, the powder looks dull and grainy. Then suddenly it melts into a smooth, shiny finish right in front of you.
This technique never gets old.
And the best part is that heat embossing works with so many styles. You can make things elegant, modern, vintage, sparkly, artsy, dramatic, or soft depending on the powder and colors you choose.
If you’ve never heat embossed before, watch this quick overview before diving into the supplies!
What Do You Need for Heat Embossing?
The supply list is refreshingly short, especially considering how many different looks you can create.
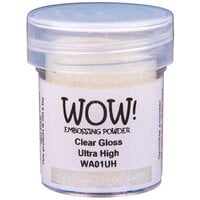
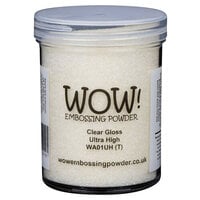
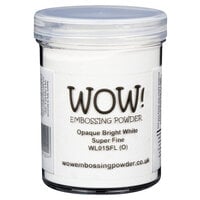
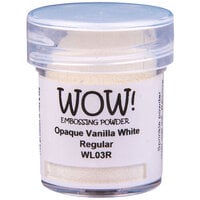
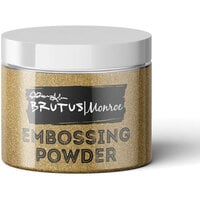
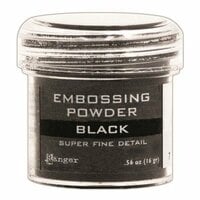
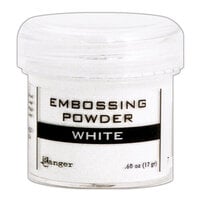
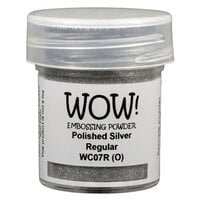
Embossing Powder

Embossing powder is what creates the raised finish. It’s a fine powder that melts when heated and hardens into a smooth design.
And once you start shopping for embossing powders… well… prepare yourself.
There are glossy powders, matte powders, metallic powders, glitter powders, chunky powders, translucent powders, glow-in-the-dark powders, vintage powders — basically every crafty temptation imaginable.
If you’re brand new to embossing, start simple:
- White
- Black
- Clear
- Gold or silver metallic
Those four alone can take you a long way.
Embossing Powder Sizes
You’ll usually see embossing powders labeled as:
- Extra Fine — best for detailed stamps and crisp sentiments
- Regular — great all-purpose option
- Ultra Thick — creates dramatic, glassy texture
If the jar doesn’t specify, it’s usually regular.
Extra fine powder is wonderful for tiny script sentiments or intricate florals because it keeps details sharp instead of clumping together.
Ultra thick powders are fun for mixed media, chunky backgrounds, and dimensional effects, but they can soften fine details.
And yes — you absolutely need to experiment. Some of the best embossing discoveries happen by accident.
See the difference between embossing powders, finishes, and textures in this video.
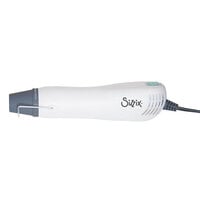
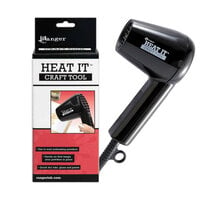
Heat Tool

A regular hair dryer won’t work here — and trust me, every crafter tries it once.
You need a dedicated heat tool that gets hot enough to melt the powder without blowing it everywhere.
The slimmer tools usually melt powder faster because the heat is more concentrated. The wider tools spread heat over a larger area and can feel a little gentler for beginners.
No matter which style you use, keep the tool moving and watch for the powder to change from dull and grainy to smooth and shiny.
That’s the magic moment.
Once it melts, move on. Overheating can scorch paper or dull the finish.
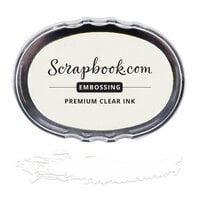
Embossing Ink

Embossing ink is clear, sticky, and slow drying. Its whole job is to hold the powder in place long enough for you to heat it.
Most embossing inks look nearly invisible on paper, so don’t panic if you can’t see much happening at first.
Once the powder hits the ink, though, everything comes to life.
Embossing ink comes in pads, pens, markers, and dabbers. Ink pads are the most common starting point because they work perfectly with stamps.
Stamps, Stencils, and Die Cuts

You can emboss almost anything:
- Stamped sentiments
- Background stamps
- Layered florals
- Stencil patterns
- Die cuts
- Handwritten words
Most people start with stamps, but once you get comfortable, embossing opens up a whole world of creative possibilities.
Watch how heat embossing works with detailed stamps and layered designs.
Anti-Static Powder Tool

This is one of those tools you don’t realize you need until embossing powder sticks absolutely everywhere except where you wanted it.
An anti-static tool removes static and oils from the paper so stray powder doesn’t cling to random spots.
One quick swipe before stamping makes a huge difference.
If you skip this step, you may spend more time chasing stray flecks with a paintbrush than actually embossing.
A Craft Mat or Scrap Paper
Embossing powder has a funny way of ending up all over your workspace.
Use a scrap sheet of paper, tray, or craft mat underneath your project so you can funnel extra powder back into the jar instead of wasting it.
Your future self will appreciate the cleanup.
How to Heat Emboss
If you can stamp, you can heat emboss.
Here’s the basic process:
Step 1: Prep Your Paper
Swipe your cardstock with an anti-static powder tool first. This keeps stray embossing powder from sticking where you don’t want it.

Step 2: Stamp with Embossing Ink
Ink your stamp with embossing ink and stamp firmly onto your cardstock.
 The ink will look clear or slightly shiny. That’s normal.
Step 3: Add Embossing Powder
Pour embossing powder generously over the stamped image while the ink is still wet.
 Tilt the paper and tap off the excess.
You’ll start seeing the design appear immediately.
If you notice random specks, brush them away with a small dry paintbrush before heating.
Step 4: Heat the Powder

Turn on your heat tool and aim it at the powder.
Within seconds, you’ll see the powder melt and turn glossy.
Move slowly around the image until the entire design is melted.
Once it’s shiny, stop heating. That’s it! You just heat embossed.