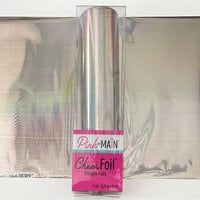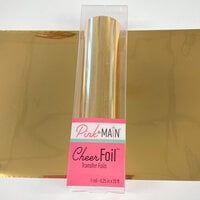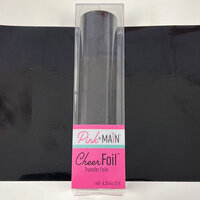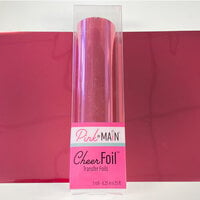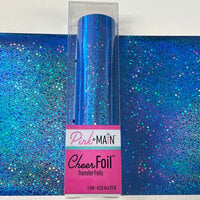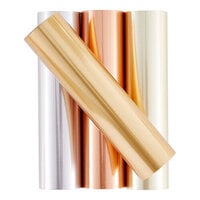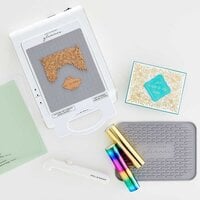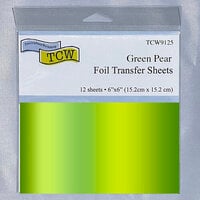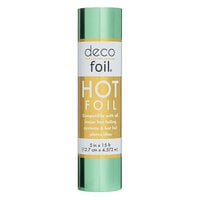
Adding foil elements to paper projects is something that continues to excite and simultaneously mystify crafters across the globe.
- What is the best way to add foil to a handmade card or layout?
- Do I need a machine? Wait, do I need 2 machines?
- Which foil works with what and...I think I need heat...or was it glue? I'm sure I read that somewhere?
All these questions (and more!) will be answered in this ultimate guide to crafting with foil. You'll not only understand the ins and outs of picking the right foil to buy, but you'll be able to make an informed decision on which type of foil technique is going to work best for you.
What Is Craft Foiling?
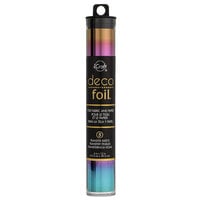
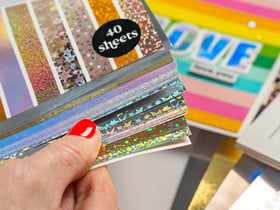
Craft foiling is the process of transferring a metallic, holographic, matte, glittery, satin, or specialty finish onto a project surface. Most craft foil has a decorative layer attached to a clear carrier sheet. Depending on the technique, heat, pressure, toner, adhesive, gel, or a sticky medium helps release the foil from the carrier sheet and transfer it onto cardstock or another craft-friendly surface.
Foiling can create many different looks, including smooth mirror shine, pressed-in letterpress-style detail, raised dimensional designs, distressed mixed media texture, soft flocked effects, glittery accents, and elegant metallic sentiments.


Understanding the Different Types of Craft Foil
Before choosing a foiling technique, it helps to know one very important thing: not all foil works the same way. A foil that works beautifully with a hot foil plate may not work in a laminator, and a toner-reactive foil may not transfer correctly with adhesive. When in doubt, always check the product description or packaging before starting.
Heat Foil
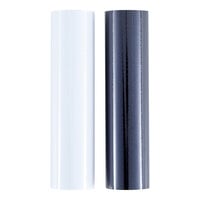
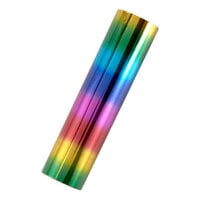
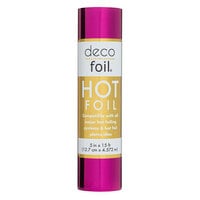
Heat foil is made for hot foil systems that use heated metal plates and pressure. This is the type of foil used with systems such as the Spellbinders Glimmer Hot Foil System, Gemini FoilPress, and Anna Griffin Empress Gild.
Heat foil is ideal for crisp, elegant designs with a slightly debossed, luxury-stationery look.
Use heat foil with:
- Hot foil plates
- Hot foil platforms
- Compatible die cutting machines
Reactive Transfer Foil
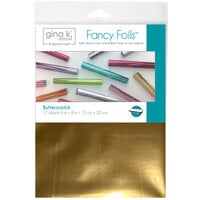
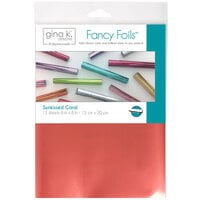
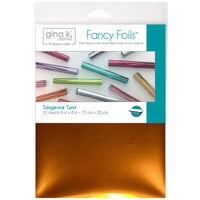
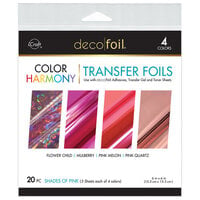
Reactive transfer foil works with a reactive surface and heat. That surface may be laser printer toner, poly-glaze, transfer gel, foiling gel, or another foil-friendly medium. This type of foil is commonly used with laminator-style machines such as the MINC Foil Applicator Machine or Gina K. Fuse Foiling System.
Use reactive transfer foil with:
- Laser toner designs
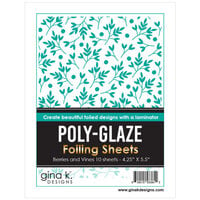
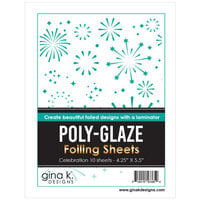
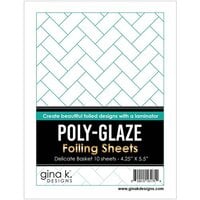
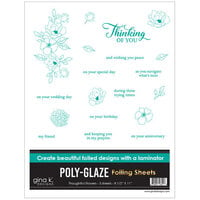
- Poly-glaze sheets
- Foiling gel
- Transfer gel
- Laminator-style foiling machines
Adhesive Foil
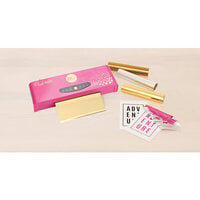
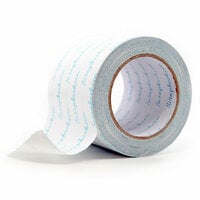
Adhesive foil sticks to tacky surfaces without requiring a hot foil plate or laminator. This is one of the easiest ways to try foiling because it works with supplies many crafters already have.
Use adhesive foil with:
- Double-sided tape
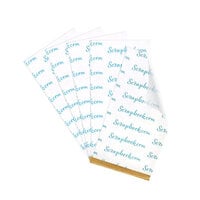
- Adhesive sheets
- Glue pens
- Foam adhesive
- Rub-on adhesive designs


Foiling Methods and Techniques
Hot Foiling
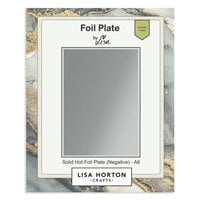
Hot foiling is one of the most popular ways to add foil to handmade cards and paper projects. It uses a heated metal plate, heat foil, and pressure from a compatible die cutting machine. The hot plate activates the foil, and the pressure transfers the design into the cardstock.
Think of hot foiling like a metallic branding iron for paper. It creates crisp, pressed-in shine that looks elegant and professional.
What You'll Need for Hot Foiling
- A hot foil platform or hot foil system
- Hot foil plates
- Heat foil
- Smooth cardstock
- A compatible die cutting machine
- The recommended shims or plates for your system
Hot Foiling Tips
- Use smooth cardstock for the cleanest transfer.
- Cut the foil slightly larger than the plate, but not much larger than the design.
- Keep foil, plates, and cardstock free from dust and fingerprints.
- If the foil is patchy, try adding a cardstock shim for more pressure.
- If there is extra foil around the design, trim the foil closer to the plate and check your pressure.
- Always follow the recommended sandwich for your specific machine.


Laminator Foiling
Laminator foiling uses heated rollers to fuse reactive foil onto toner, poly-glaze, transfer gel, or another compatible medium. Unlike hot foiling, there is no metal plate pressing into the paper. Instead, the foil bonds to the reactive design as it passes through the machine.
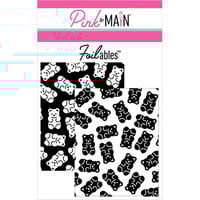
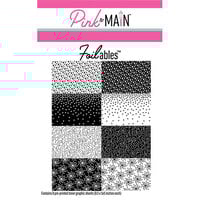
This method is wonderful for foiled sentiments, toner-printed designs, patterned backgrounds, custom laser-printed artwork, and premade foilable sheets.
What You'll Need for Laminator Foiling
- A laminator-style foiling machine
- Reactive transfer foil
- A toner-printed, poly-glaze, or gel-based design
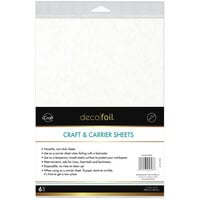
- A carrier sheet or transfer folder
- Smooth cardstock or compatible paper
Laminator Foiling Tips
- Use laser toner, not inkjet printer ink.
- Let the machine fully preheat before foiling.
- Keep foil flat inside the carrier sheet to prevent wrinkles.
- Remove dust from the foil and paper before running it through the machine.
- Use smooth paper for the cleanest transfer.


Foiling with Gels and Stencils
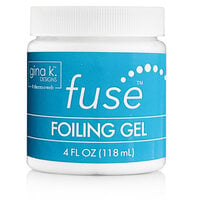
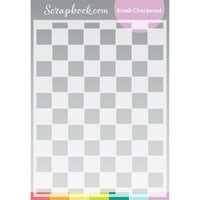
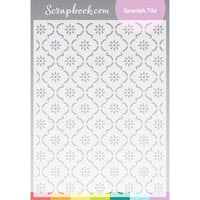
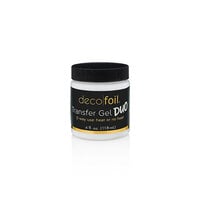
Foiling gel is one of the most versatile products in the foiling world because it turns almost any stencil into a foil-ready design. Apply gel through a stencil, let it dry completely, and then run it through a laminator-style machine with reactive transfer foil.
What You'll Need for Foiling with Gels and Stencils
- Foiling gel or transfer gel
- A stencil
- A palette knife, stencil tool, or Stencil Pal
- Reactive transfer foil
- A laminator-style machine
- Cardstock
How to Foil with Gel and a Stencil
- Secure your cardstock and stencil to prevent shifting.
- Spread a thin, even layer of foiling gel through the stencil.
- Carefully lift the stencil.
- Wash the stencil and tool right away.
- Allow the gel to dry completely until it turns clear.
- Place reactive foil over the dry gel with the shiny side facing up.
- Run the project through a laminator-style machine inside a carrier sheet.
- Peel away the foil to reveal the design.
Important tip: Foiling gel must be completely dry before it goes through a heated machine. Many gels look cloudy when wet and clear when dry. If the gel still looks milky, wait longer.
Foiling with Adhesives
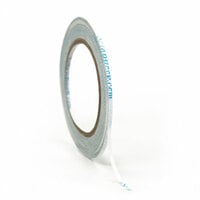
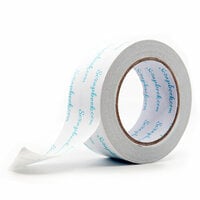
If you want to try foiling without heat, start with adhesive. Foil sticks beautifully to tacky surfaces, including double-sided tape, adhesive sheets, foam adhesive, glue pens, and rub-on adhesive designs.
What You'll Need for Adhesive Foiling
- Double-sided adhesive, adhesive sheets, or glue pens
- Transfer foil or adhesive foil
- A bone folder or your finger for burnishing
- Cardstock or another project surface
How to Foil with Double-Sided Adhesive
- Apply double-sided adhesive to your project.
- Trim away any excess adhesive.
- Remove the release liner to expose the sticky surface.
- Place foil over the adhesive with the shiny side facing up.
- Burnish gently but firmly.
- Peel away the foil carrier sheet.
Adhesive Foiling Ideas
- Create shiny borders with double-sided tape.
- Cover adhesive sheets with foil and die cut shapes from them.
- Add foil to foam adhesive for dimensional accents.
- Use a glue pen to write words or draw doodles, let it dry tacky, and foil over it.
- Add foil strips behind die-cut windows.
Adhesive foiling may look more textured or handmade than machine foiling, but that is part of its charm. It is fast, easy, and perfect when you want a little shine without setting up a machine.


Foiling with Stamps
Foiling with stamps gives stamped images a metallic finish. The results are often more handmade, distressed, or mixed-media looking than hot foiling, which can be perfect for vintage designs, grungy backgrounds, and artistic card accents.
Ways to Foil with Stamps
- Stamp with a sticky medium and apply transfer foil.
- Use sticky embossing powder over stamped images.
- Apply foiling gel lightly to a stamp and stamp the gel onto cardstock.
- Use toner-based stamping products if available.
Tips for Foiling with Stamps
- Use stamps with bold lines for easier transfer.
- Clean stamps immediately after using gel or adhesive products.
- Expect a more textured finish than machine foiling.
- Test first, especially with detailed stamps.


Foiling with Sticky Embossing Powder
Sticky embossing powder works like powdered glue. You stamp the design, apply the powder, heat it until it becomes sticky, and press foil into it. This technique often creates a slightly distressed, vintage, or handmade foil effect.
What You'll Need
- Sticky embossing ink or Versamark ink
- Sticky embossing powder
- A heat tool
- Transfer foil
- A stamp
- Cardstock
How to Foil with Sticky Embossing Powder
- Stamp your image with sticky embossing ink.
- Sprinkle sticky embossing powder over the image.
- Tap off the excess powder.
- Heat the powder until it melts and becomes shiny.
- Press foil onto the warm, sticky design.
- Let it cool briefly.
- Peel away the foil carrier sheet.


Foiling with Embossing Folders
Embossing folders and foil are a gorgeous combination. Because embossing folders create raised and recessed texture, they can add dimension and drama to foiled designs.
Ways to Use Foil with Embossing Folders
- Use foiled cardstock inside an embossing folder for textured shine.
- Apply transfer medium before embossing.
- Add adhesive or gel to raised areas and apply foil selectively.
- Foil raised details after embossing for an artsy, dimensional look.
This technique can require experimenting, but it is a wonderful way to bring older embossing folders back into your current crafting rotation.


Foiling Machines, Tools, and Systems
The Spellbinders Glimmer Hot Foil System
The Spellbinders Glimmer Hot Foil System is a favorite among cardmakers because it works with many popular manual die cutting machines. It uses a heated platform, hot foil plates, heat foil, and pressure from a die cutting machine to create beautiful foiled impressions.
Basic Glimmer Process
- Plug in the Glimmer platform and place it in the charging base.
- Turn the system on and allow it to heat fully.
- Place the hot foil plate on the platform with the design facing up.
- Press the timer button and wait for the plate to heat.
- Place foil over the plate with the shiny side facing down.
- Place smooth cardstock over the foil.
- Add the recommended shim and spacer plate.
- Carefully remove the platform from the base and run it through your die cutting machine.
- Peel back the foil to reveal the design.
Why Crafters Love the Glimmer System
- It creates elegant, high-end results.
- It works with many manual die cutting machines.
- It has a wide variety of compatible plates.
- It can also be used for impressions and faux letterpress techniques.
Manual Die Cutting Machine Compatibility
The Spellbinders Glimmer Hot Foil System works with several popular manual die cutting machines. Always confirm current compatibility with the manufacturer before use.
- Spellbinders Platinum
- Spellbinders Platinum 6
- Sizzix Big Shot
- Sizzix Big Shot Plus
- Sizzix Big Shot Express
- Sizzix Big Kick
- Sizzix Vagabond
- Sizzix Vagabond 2
- We R Evolution
- Other steel rule die compatible machines with a platform length of at least 6"
Glimmer Troubleshooting Tips
If you are seeing too much foil around the design, trim the foil closer to the plate and round the corners of the foil. If you are not getting enough foil transfer, try smooth cardstock, check your sandwich, or add a cardstock shim if recommended for your machine.
The Anna Griffin Empress Gild Hot Foil Machine
The Anna Griffin Empress Gild is a hot foiling system designed to create elegant foiled details with heated plates and pressure. It is especially loved by crafters who enjoy decorative, ornate, and classic designs.
Helpful Empress Gild Tips
- Give larger plates enough time to heat thoroughly.
- Use smooth cardstock for best results.
- Follow the machine's recommended sandwich.
- Experiment with cardstock shims if coverage is uneven.
- Keep plates clean for crisp transfers.
- Allow hot components to cool before handling or storing.

The MINC Machine
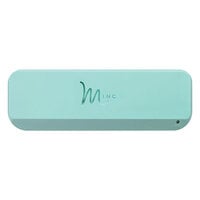
The MINC is a laminator-style foiling machine that uses heat and pressure to transfer reactive foil onto toner or another reactive medium. It is especially popular for scrapbook pages, planner projects, party pieces, home decor, and larger foil designs.
Basic MINC Process
- Turn on the MINC and select the correct heat setting for your material.
- Place your toner-printed or reactive design inside a carrier sheet.
- Place reactive foil over the design with the shiny side facing up.
- Smooth the carrier sheet so the foil stays flat.
- Feed the carrier sheet into the MINC.
- Allow the machine to pull the project through.
- Open the carrier sheet and peel away the foil.
What Makes the MINC Fun
- It works beautifully with toner-printed designs.
- It is excellent for larger projects.
- It pairs well with premade toner embellishments and paper collections.
- It lets you foil custom designs if you have access to a laser printer.
The Gina K. Fuse Foiling System
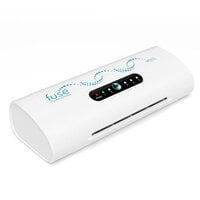
The Gina K. Fuse Foiling System is a laminator-style machine designed with crafters in mind. It offers strong pressure and consistent heat, which can help create reliable foiling results with toner-printed sheets and Gina K. Poly Glaze products.
What You'll Need
- Gina K. Fuse Foiling System
- Reactive transfer foil
- Toner or Poly Glaze designs
- A carrier sheet
- Smooth cardstock or compatible paper
Helpful Fuse Tips
- Use the heat setting recommended for your material.
- Let the machine fully preheat before sending your project through.
- Remove dust from the paper and foil before foiling.
- Use smooth cardstock for best results.
- Keep the foil flat inside the carrier sheet to avoid wrinkles.
The dust-free difference: Tiny specks of dust can create little missing spots in foil. Before running your project through a laminator-style machine, gently wipe the cardstock and foil with a soft cloth, clean brush, or duster.
Foiling on Specialty Surfaces
Cardstock is the most common surface for foiling, but it is not the only option. Once you are comfortable with the basics, try experimenting with other craft-friendly surfaces.
Surfaces You Can Try
- Vellum
- Acetate
- Patterned paper
- Chipboard
- Faux leather
- Fabric
- Planner pages
- Journal covers
- Mixed media panels
Tips for Specialty Surfaces
- Always test first.
- Use lower heat when working with delicate materials.
- Check whether the surface can safely go through your machine.
- Use smooth surfaces when you want crisp foil transfer.
- Expect different materials to react differently to heat and pressure.
Vellum can create soft, elegant foiled layers. Acetate can add beautiful shine to shaker cards and windows. Chipboard can create sturdy foiled embellishments for scrapbook layouts and mini albums.
Beyond Foil: Flocking and Glitter Techniques
Some foiling products can do more than add metallic shine. Transfer gels and tacky mediums can also help you add flocking, glitter, and other textures to your projects.
Flocking
Flocking adds a soft, velvety texture to your project. It is wonderful for cozy winter cards, animal designs, florals, children's projects, and anywhere you want touchable texture.
Glitter
Foiling gel can also act as a dimensional adhesive for glitter. Apply gel through a stencil or directly to your project, sprinkle glitter over the wet gel, and allow it to dry completely.
Why These Techniques Are Worth Trying
- They help you get more from your foiling supplies.
- They add texture as well as shine.
- They work beautifully with stencils.
- They are great for seasonal cards and mixed media projects.
Using Leftover Foil Pieces
One of the most satisfying parts of foiling is learning how to use the leftover foil. After you foil a design, the leftover sheet often has the negative image still visible. Instead of tossing it, you can sometimes use that leftover piece with a solid toner sheet or solid poly-glaze panel to create a second design.
Ideas for Leftover Foil
- Create a reverse design on a solid toner panel.
- Use small leftover pieces for adhesive strips.
- Die cut small shapes from adhesive-backed foiled cardstock.
- Add bits of foil behind windows or shaker elements.
- Use scraps for mixed media texture.
Troubleshooting Common Foiling Problems
Foiling is fun, but it can be a little fussy. If the results are not what you expected, use these common issues as a starting point.
Problem: Missing Spots or Patchy Foil
Possible causes: Dust or lint, not enough pressure, not enough heat, textured cardstock, or uneven gel application.
Try this: Use smooth cardstock, wipe away dust before foiling, allow the machine to fully preheat, and experiment with shims if your system allows it.
Problem: Extra Foil Where You Do Not Want It
Possible causes: Foil is too large, pressure is too strong, static, dust, or fingerprints.
Try this: Trim the foil closer to the design, round sharp foil corners, handle foil by the edges, and gently remove unwanted foil with a sand eraser or adhesive eraser.
Problem: Wrinkled Foil
Possible causes: Foil shifted, the carrier sheet was not smooth, or the project fed unevenly through the machine.
Try this: Smooth the foil carefully before running it through the machine. Make sure the project feeds straight and flat.
Problem: Gel Smears or Transfers Poorly
Possible causes: Gel was still wet, the gel layer was too thick, the stencil shifted, or the heat was too high.
Try this: Apply a thin, even layer of gel and let it dry completely before foiling.
Problem: Foil Does Not Stick to Toner
Possible causes: Inkjet printing was used instead of laser toner, the laminator was not hot enough, toner coverage was too light, or the paper was too textured.
Try this: Use laser-printed designs, increase the heat setting if appropriate, and choose smooth paper.
Problem: Foil Scratches Off
Possible causes: Wrong foil type, weak adhesive, or an incompatible surface.
Try this: Confirm foil compatibility and use a stronger adhesive or a more suitable foiling method.
Foil Storage and Organization Tips
Foil can scratch, wrinkle, or collect dust easily. Good storage helps protect the surface and improves your results.
How to Store Foil
- Store foil sheets flat whenever possible.
- Keep foil away from moisture.
- Avoid direct sunlight.
- Use stamp pockets, folders, envelopes, or clear bins.
- Organize by color, finish, or technique.
- Keep scraps in a separate pocket for adhesive foiling and mixed media projects.
Frequently Asked Questions About Craft Foiling
Can I use regular printer ink for foiling?
No. Standard inkjet printer ink will not react with transfer foil. For toner foiling, you need laser printer toner or another reactive medium such as poly-glaze or transfer gel.
Can I foil without a machine?
Yes. You can foil with double-sided adhesive, adhesive sheets, glue pens, sticky embossing powder, rub-on adhesive designs, and some tacky mediums.
Can I use hot foil in a laminator?
Usually no. Hot foil and reactive transfer foil are made for different techniques. For best results, use the foil type recommended for your machine or medium.
Can I use laminator foil with a hot foil plate?
Usually no. Laminator foil is designed to react with toner or transfer mediums, not hot foil plates. Use heat foil with hot foil systems.
What cardstock works best for foiling?
Smooth cardstock usually gives the best results. Textured cardstock can interrupt the transfer and create patchy areas.
Why is my foil patchy?
Patchy foil can happen because of dust, not enough heat, not enough pressure, textured paper, uneven gel, or using the wrong type of foil.
How do I remove extra foil?
Gently rub unwanted foil with a sand eraser, adhesive eraser, or other craft-safe eraser. Always test first and use a light hand.
Can I foil on vellum?
Yes, but test first. Vellum can be sensitive to heat and pressure, so use care and start with recommended settings.
Can I foil stamped images?
Yes. Sticky embossing powder, tacky mediums, and some gel techniques can be used to foil stamped designs.
What is the easiest foiling method for beginners?
Adhesive foiling is often the easiest because it does not require heat or a machine. Foiling with gel and stencils is also beginner-friendly if you already have a laminator-style machine.
What is the most professional-looking foiling method?
Hot foiling usually creates the most elegant, luxury stationery-style finish because the foil is pressed into the cardstock.
Can I reuse leftover foil?
Often, yes. Leftover foil pieces can be used for adhesive foiling, small accents, mixed media, or reverse designs with solid toner or poly-glaze sheets.
Final Thoughts
Foiling is one of those techniques that feels a little magical every time. You build your sandwich, run it through the machine, peel back the foil, and suddenly your project has shimmer, shine, and personality.
Whether you love the crisp elegance of hot foiling, the smooth shine of toner foiling, the flexibility of foiling gels, or the simplicity of adhesive techniques, there is a foiling method for every crafter and every budget.
Start with one technique, test it on scraps, and let yourself experiment with different papers, colors, and designs. Once you see that first perfect shimmer, you will understand why so many crafters want to foil all the things.
Share your foiled cards, layouts, tags, journals, and handmade projects in the Scrapbook.com Gallery to inspire other crafters and celebrate the joy of making something beautifully handmade.