FREE Standard Shipping on Orders $69+ with code:
FREESHIPPING
Be the first to cheer this project!

 Give a Cheer
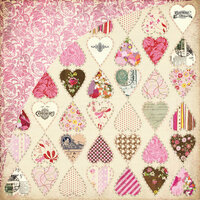
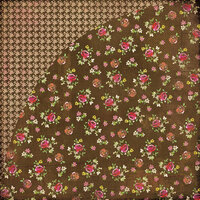
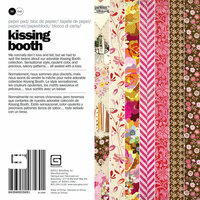
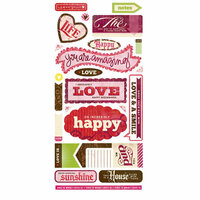
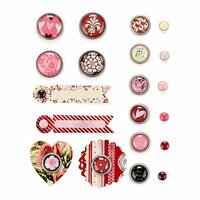
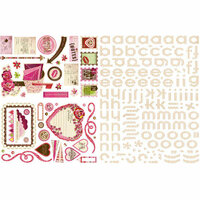
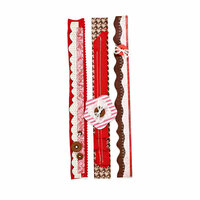
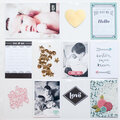
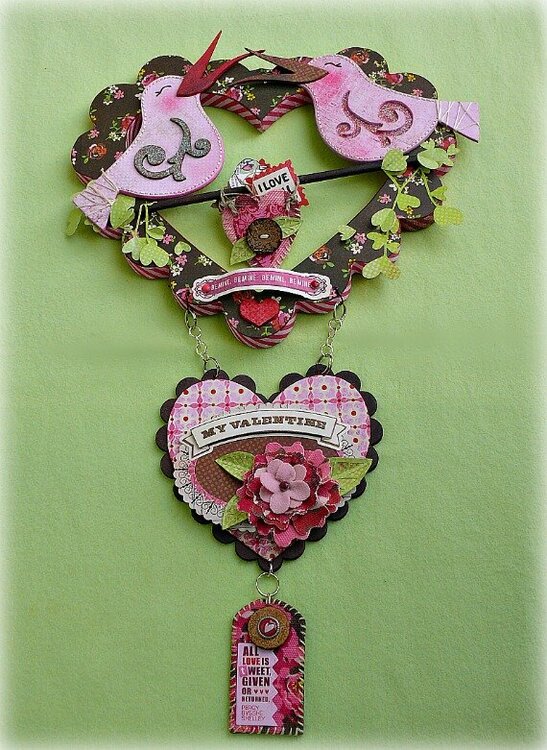
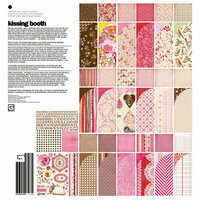
Id like to show you how I created this home decor piece, using a scalloped wood frame, some chipboard album pages and loads of patterned papers and embellishments from one of my favorite BG collections, Kissing Booth.
1. Begin by covering the sides and face of a wooden heart shaped frame with patterned paper. Then use a die-cut journal strip, border sticker, brads and a chipboard heart to embellish the lower part of the heart.
2. Next, take a large canvas heart (from the Die Cut Paper and Canvas Flowers set) and use it as a template to cut out a felt heart the same size. Stitch the edges of the hearts together, to create a small pouch.
3. After embellishing the front of the pouch with a heart die-cut, a large wood button and some paper leaves, stuff with a little Spanish moss and add stamp die-cuts. Note: The paper leaves were cut on the Silhouette.
4.Punch holes into the pouch and thread some twine through on each side to create handles. Knot the ends to secure.Thread the pouch onto a wood dowel that was covered with dark brown patterned paper and set aside.
5. Next, take two chipboard birds and trace out some long beaks to cover the existing ones. Transfer the beak images onto some raw chipboard and cut them out. Note:These birds are pages from a chipboard album, but you could hand cut some or use a die cutting machine make a template and make your own.
6. Cover all the chipboard pieces with patterned paper and glue together. A little glitter was added to the scroll wings and red chalk was used on the cheek area of each bird. The eyes were cut out of paper using my Silhouette, but they could easily be drawn in.
7. Use embroidery thread to stitch around the edges of the birds. Then apply a little glue to the back of the birds tails and use more embroidery floss to wrap around them.
8. Now that the birds are complete, arrange them and the dowel with the pouch onto the wood frame, glue in place. To finish off the frame some heart shaped foliage was cut out on the Silhouette and glued on each side of the dowel.
9. Use some embroidery thread to gather around the center of 3 various sized canvas flowers. Stitch them together to form 1 flower.
10. Cut out a few leaf skeletons on the Silhouette, then glue them onto the same colored patterned paper and cut hand cut them out.
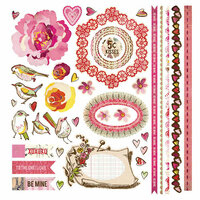
11. Next cover a chipboard scalloped heart and smaller heart (from a chipboard album) with patterned paper and glue together. Layer an oval element sticker, patterned paper and die cut banners to the heart and embellish with the canvas flower and leaves. Add a brad to two small felt flowers (taken from a Blush in Bloom flower) and glue to the center of the canvas flower.
12. Use pop dots, or some other dimensional glue to adhere the embellishments on this piece.
13. Take one of the canvas tags (from the Die Cut Paper and Canvas Flowers set ) and stitch around the edges. Then, cut a piece of raw chipboard the same size and glue it to the back of the tag, to give it some weight. Punch a small hole at the top for hanging, then adhere a die-cut, a button and brad. Use a small letter sticker to change the word sweet into tweet.14. To complete the project, drill and punch small holes into the hearts, so jump rings and wire can be used to hold everything together.
visit the BasicGrey Blog for step by step photos.


Thanks for spreading positivity!