


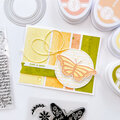
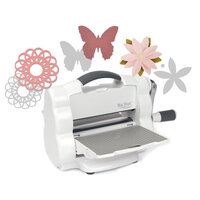
Card Making up to 60% OFF
Plus, a FREE Gift! | Details Here.
Plus, a FREE Gift! | Details Here.


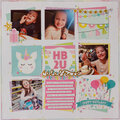
 Give a Cheer
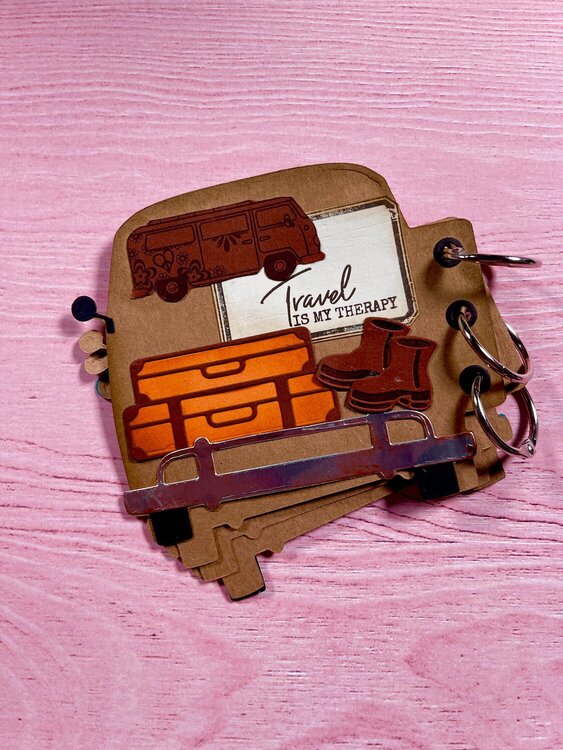
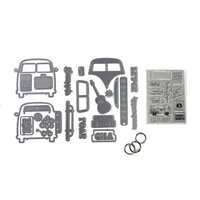
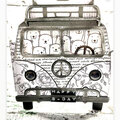
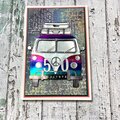
I am completely in love with this new Retro bus set from Elizabeth Craft Designs. It is so easy to assemble and that makes it a joy to work with!
Step 1: Die cut all the pieces you need out of the cardstock.
Step 2: I used cardstock with a colored core. Using a sanding block, I distressed the paper exposing the lighter core.
Step 3: Using Distress ink Frayed Burlap to lightly color the edges of the main parts. This not only gives it a vintage look but also helps to create depth. Always remember: light brings forward, dark creates depth.
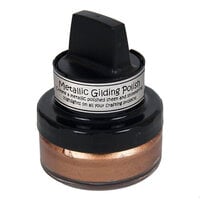
Step 4: Distress the metallic parts with a sanding block and give it a rusty look using a rose gold gilding wax.
Step 5: assemble the cover page in this order: base page, base layer, cover layer, insert windows if you made these, add tires and finish with bumper, head lights, mirrors and other embellishments.
I hope you give this fantastic set a go and enjoy it as much as I did. Thank you for reading my process.
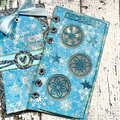
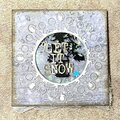
This set is so versatile, you can use it to make cards, in a journal, planner or as i did here as a mini booklet. Even the rings are included.
Thanks for spreading positivity!


July 28, 2022
May 13, 2022
May 06, 2022
January 31, 2022
January 30, 2022
January 30, 2022
January 30, 2022
January 29, 2022