Adding foil elements to paper projects is something that continues to excite and simultaneously mystify crafters across the globe.
- What is the best way to add foil to a handmade card or layout?
- Do I need a machine? Wait, do I need 2 machines?
- Which foil works with what and...I think I need heat...or was it glue? I'm sure I read that somewhere?
All these questions (and more!) will be answered in this ultimate guide to crafting with foil. You'll not only understand the ins and outs of picking the right foil to buy, but you'll be able to make an informed decision on which type of foil technique is going to work best for you.
How Does Crafting with Foil Work?
You want to foil all the things. What next? Not all foil is created equally. It's important to know about the different types of foil and how they work, especially so you don't end up buying a foil that is incompatible with how you intend to use it.
- Heat Foil: Turn up the heat to work with this style of foil! A significant heat source is required to transfer the shiny foil onto your project. These include Glimmer Hot Foil System by Spellbinders
- Reactive Transfer Foil: Using heat with the addition of a reactive agent such as specialized transfer gel, transfer paint, or ink toner, you can transfer foil onto your project. This type of foil is generally used with a heat laminator or MINC machine and includes Heidi Swapp MINC Reactive Foil, Therm O Web iCraft Deco Foil Transfer Sheets, and Gina K Therm O Web Fancy Foils.
- Adhesive Foil: With the use of liquid or sheet adhesive, the foil transfers onto the tacky surface in the shape or design of the adhesive. These types of foils include Prima's Rub On Foil Sheets and Dress My Craft Reactive Foil.
Is Crafting with Foil Hard?
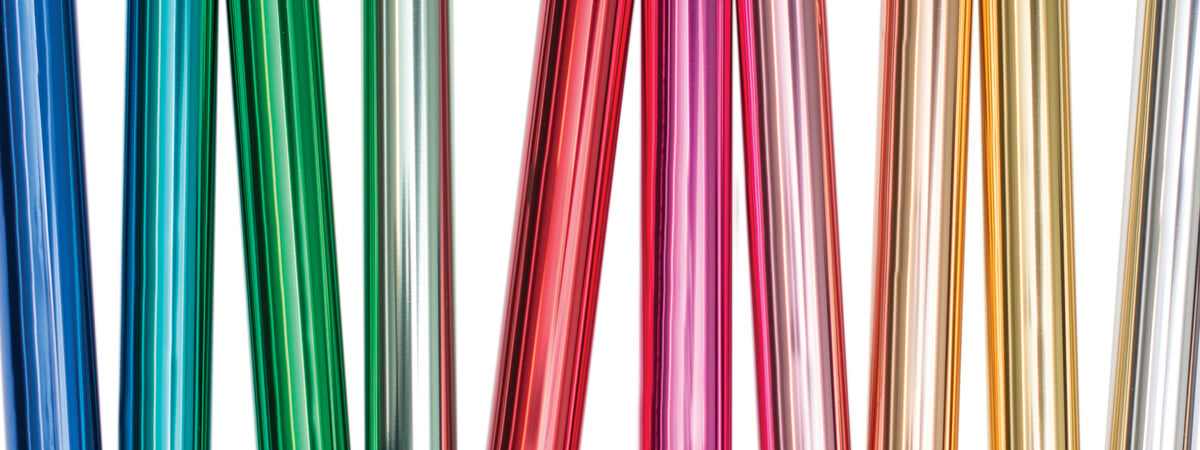
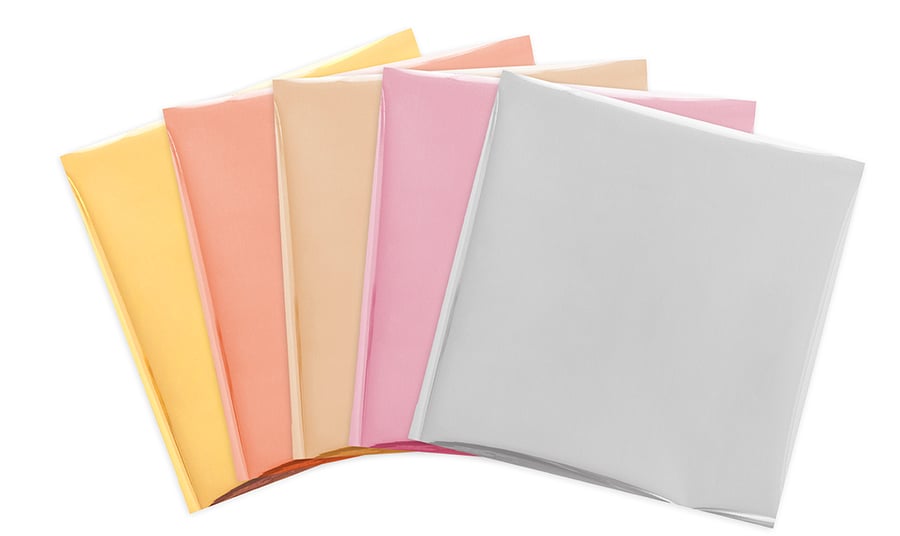
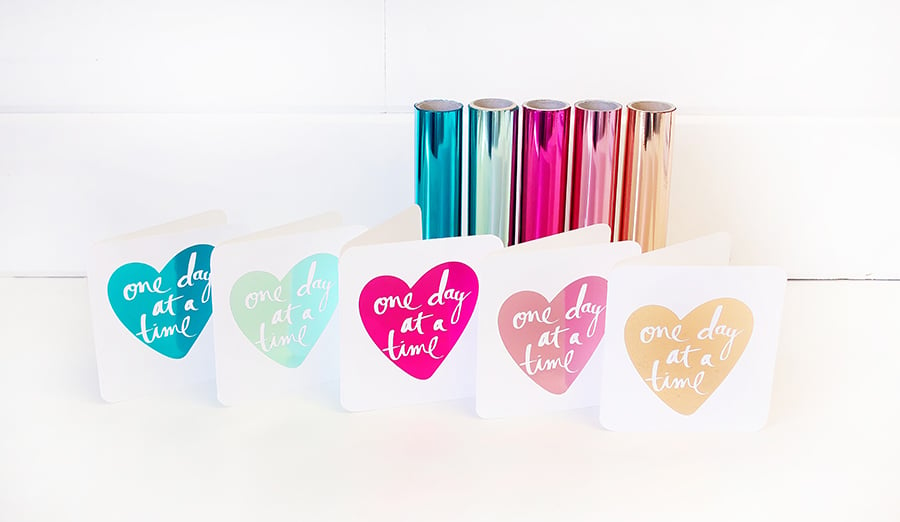
No! Not at all! Foiling is not what it used to be. Nowadays, there are a variety of methods and helpful products to ensure you get the exact type and design of foiling you want. And the best part might be the glimmering rainbow of foil options available!
There are also some crafting hacks for using foil in ways it wasn't even intended to be used. More on that later! But first, let's talk about some of the ways to get foil on your projects.
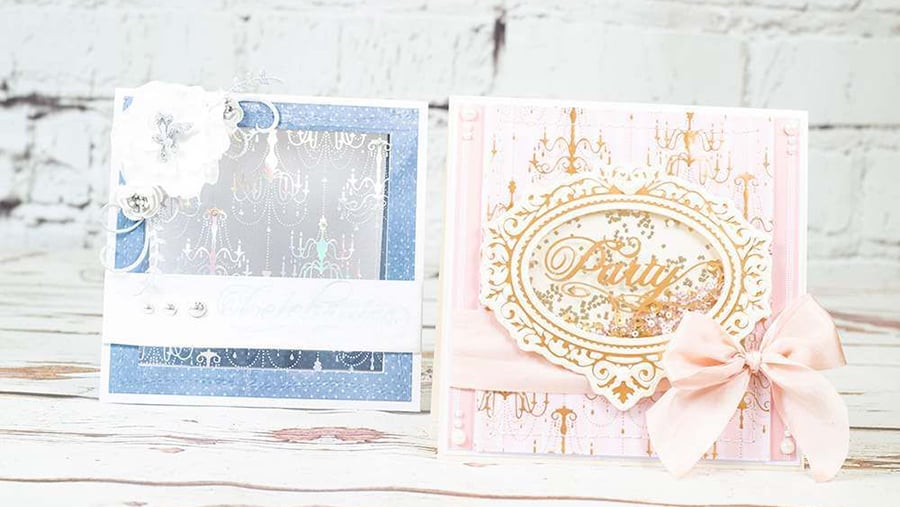
The Glimmer Hot Foil System from Spellbinders
 Foil Compatibility: Heat Foil
If you're more of a manual die cutter, then the Glimmer Hot Foil System is the foiling option for you! This electricity-powered heat platform sits in a handy docking station where it gets hot, hot, hot for rolling through your die cutting machine for foiling your projects.
Contrary to popular belief, there are a bunch of die cutting machines that work with the Spellbinders Glimmer Hot Foil System.
Manual Die Cutting Machine Compatibility:
- Spellbinders Platinum
- Spellbinders Platinum 6
- Spellbinders Artomology Platinum 6 Deep Sea Die Cutter by Jane Davenport
- Sizzix Big Shot
- Sizzix Big Shot Plus
- Sizzix Big Shot Express
- Sizzix Big Kick
- Sizzix Vagabond
- Sizzix Vagabond 2
- We R Evolution
- Other steel rule die compatible die cutting machines with a platform length of at least 6"
 How to Use the Glimmer Hot Foil System
- Plug in your machine and place the Glimmer Hot Foil Platform into the charging base. Also get your die cutting machine ready by removing any adapters or cutting pads.
- Turn on the system and wait for it to fully heat up; the three handy system lights will help you know when it's ready.
- Take your Spellbinders Glimmer Hot Foil Plate and place it on the rubber portion of the platform face up. Press the timer button. This measures the appropriate amount of time to fully heat your plate. When it's ready, the timer button turns solid green.
- Place your foil shiny side down on top of the Glimmer Plate. Then add your desired material on top of it. If using cardstock, make sure you use a smooth texture for the best coverage. Also, be careful - the platform and the plate will be very hot.
- Add the included shim and spacer plate next. Carefully remove the platform from the system and place on your die cutting machine platform.
- Slowly run the Glimmer Hot Foil platform through your die cutting machine. Once it's done, remove the shims and your material. Slowly peel the foil away to reveal your amazing foiled design!
- Too much foil? Try cutting down your foil to just slightly over the size of your Glimmer Plate and rounding the edges as well. If you end up with foil where you don't want it, simply use an eraser to gently remove excess foil from edges.
- Not enough foil or coverage is uneven? Each Glimmer Plate and die cutting machine is different. Try playing around with shims like cardstock to apply more pressure.
- Place the Glimmer Hot Foil platform back in the charging base to begin heating up again for another foiled masterpiece!
For manual die cutters looking to add some sparkle or shine in amazing designs, this is the foiling system for you! It's an amazing way to extend the possibilities of your die cutting machine while creating brilliant projects. It's also super simple to use and operate with just one button to control the heat!
In addition to foiling with the Glimmer Hot Foil Plates, you can also use them to emboss unbelievable impressions into paper or cardstock, and even use them with faux letterpress techniques.
Pinkfresh also has a wide variety of Hot Foil Plates that will make any project sparkle!
See the video below for 10 super helpful tips for using this machine:
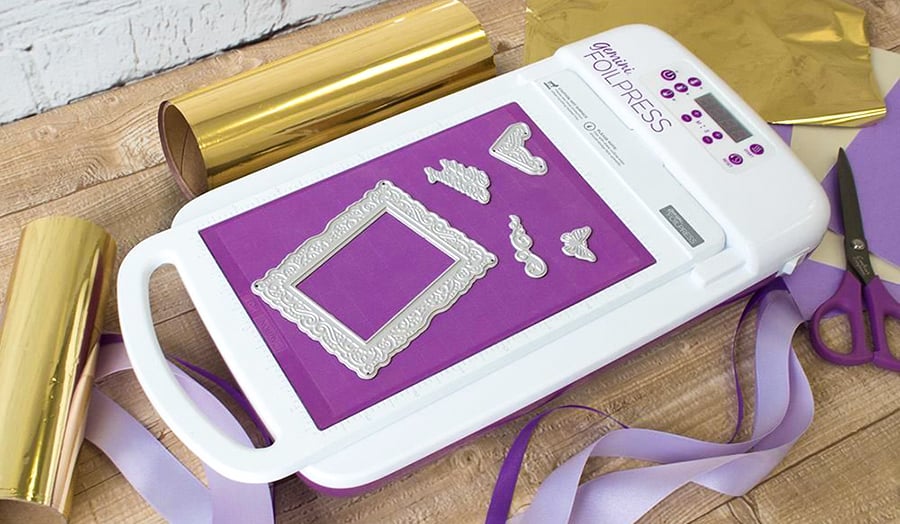
Gemini FoilPress Machine from Crafter's Companion
 Foil Compatibility: Heat Foil
If foiling is on your mind but safety is paramount to you enjoying some crafting with foils then the Gemini FoilPress is the way to go! Crafter's Companion prides itself on the safety of their unit, as its the only foiling machine to have a temperature control feature that guarantees the FoilPress will not overheat.
It also has helpful cool down and auto-shutoff features, nice audible beeps to alert you of readiness, and a detailed instruction manual so you are always informed of the settings needed for every project.
Very similar to the previous machine from Spellbinders, this accessory for your Gemini Jr. or Gemini die cutting machines uses a charging base and heated platform along with specialized metal Stamp 'n' Cut Dies to add foil to your projects.
Manual Die Cutting Machine Compatibility:
- Crafter's Companion Gemini Jr.
 How to Use the Gemini FoilPress Machine
- Plug your machine in and insert the FoilPress Plate into the FoilPress Base. Switch it on. Also get your Gemini or Gemini Jr. machine ready!
- Using your included instruction manual, refer to the helpful table detailing times and settings depending on the type and size of Foil Stamp Die or Foil Stamp 'n' Cut Die you're using. Select the appropriate heat level and time using the handy LCD screen on the FoilPress Base.
- Place your die onto the FoilPress Plate and press the start button. Allow the timer to count down; when it beeps, you're ready for your foil.
- Place your foil shiny side down on top of the die. Then add your desired material on top of it. Be careful - the platform and the plate will be very hot.
- If you're using a Stamp 'n' Cut Die that foils and die cuts a shape, place your metal shim on next. For just foiling, you would skip this step.
- Next, add your heat plate. Carefully remove the platform from the system using the silicone finger grips to avoid burning your fingers. Feed the platform into your Gemini die cutting machine, grabbing it from the other side when it's done.
- Once it's done, remove the shims and your material. Slowly peel the foil away to reveal your amazing foiled design!
- Place the platform back in the charging base to begin heating up again for another foiled masterpiece!
For dedicated Gemini and Gemini Jr. die cutters who are yearning for some foiled accents, this is the system for you!
This system is also a wonder for controlling the times and temperatures needed for various sizes of dies and the thickness of the material you're foiling onto! It may take a little more effort to control, but those settings are there to ensure the absolute most perfect foiled impression for your project!
The MINC by Heidi Swapp
 Foil Compatibility: Reactive Transfer Foil
The MINC by Heidi Swapp is a fan favorite that's been around for several years. Available in a gorgeous 12" scrapbook page size, and a handy, portable 6" size, the MINC Foil Applicator is a heat laminator style of foiling system.
Even though this system uses heat, it's very different from all the other foiling options on our list. To achieve beautiful foiled results, this system requires a reactive agent to transfer foil from a sheet to your project.
In most cases, that reactive agent is toner ink but you can also purchase specialized transfer gel, transfer paint, and even transfer toner ink pens!
Therm O Web even released a specialized Transfer Gel DUO that allows you to transfer foil or flock using a heat laminator or a die cutting machine's pressure. Transfer foil without heat? Yes, please!
 How to Use the MINC
- Plug your MINC machine in and turn it into the "on" position using the switch on the back.
- Ensure that the machine is in the "forward" direction using the other switch on the back of the machine. This ensures your project easily feeds through the machine.
- Hit the gold button on the top to activate the machine. The 0 light will turn on indicating zero heat. Hitting the gold button again selects a heat setting from 0 to 5. Thin materials need the least amount of heat and thick materials the most heat.
- Once you've selected a heat setting, allow the indicator light to turn green and beep, letting you know it's ready for use.
- A transfer sheet or folder is needed to run your project through the MINC. Place your project with an appropriate reactive agent (toner ink, transfer gel, or transfer paint) on it into the folder, face up.
- Place the reactive transfer foil on top of your project, shiny side up, covering all the reactive agent areas.
- Close your transfer sheet and smooth it out before feeding it into your MINC. The machine's rollers will grab the sheet and roll it through.
- Open your transfer sheet to see the gorgeous foil transferred onto your project in the exact design you wanted!
The MINC Collection is not just a scrapbooker or cardmaker's dream foil system, it's also great for planner lovers, home decor gurus, and DIYers who love making party favors and decorations.
Heidi Swapp's extensive collection of ephemera, pages, kits, and prints with reactive agent toner ink already on them makes it easier than ever to get amazing foiled designs for your projects.
Also, if you have an ink toner laser printer at home, whatever you can print out, you can turn into foiled brilliance!
Adding Foil with Adhesive
 Foil Compatibility: Adhesive Foil
If you want to be a fab foiler but don't want to mess around with heat, power, machines, reactive agents, and all that, you can still get your shine on with good old fashioned adhesive.
There are a few options for foiling with adhesive. Both Prima and Re-Design offer transfer image sheets that are filled with sticky designs meant to be covered with foil. Just lay down the transfer image on your material of choice and place the foil sheet on top to get it to stick down in the exact pattern of the sticky images.
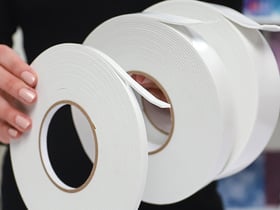
But what about using ordinary double-sided adhesive and foils? Can it be done? Of course it can!
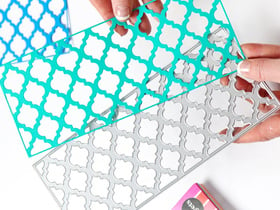
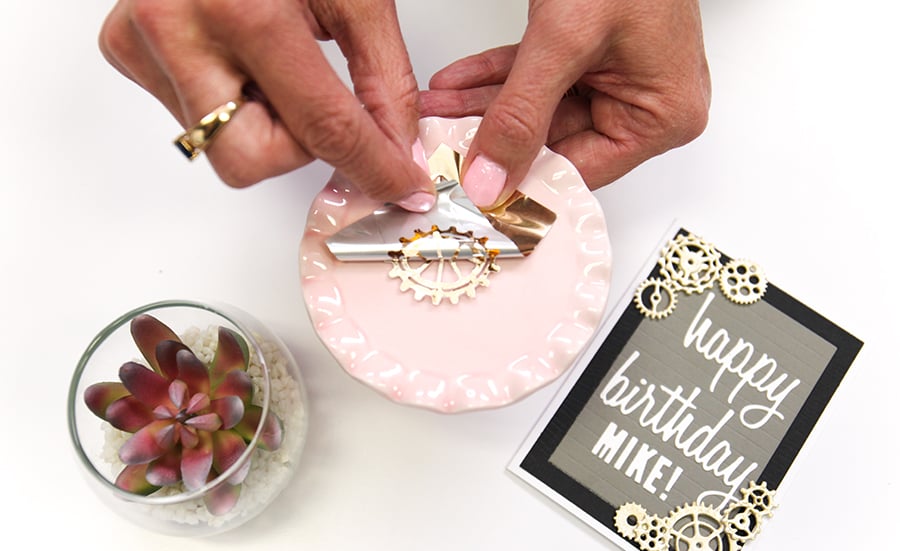
How to Add Foil Accents with Adhesive
- Take your cardstock or material and decide what pattern you want to make with foil. You can do stripes, random pieces, or a whole circle or square.
- Add your clear double-sided adhesive onto your material by peeling one side of the backing away and placing it on your project. Trim off any excess.
- Smooth the adhesive down firmly, and then remove the top layer of the adhesive backing to expose the sticky part facing up.
- Place the foil down on top of your adhesive, shiny side up, making sure all the sticky areas are covered entirely. Gently press down. This will transfer the thin foil layer onto your adhesive.
- Lift the foil sheet to reveal the shininess that has been stuck to the adhesive!
- NOTE: Adhesive foil and reactive transfer foil can be used for this technique (not heat foil)!
While this foiling technique seems too good to be true, it's important to note that the visual aesthetic for this type of foiling is a tad grungier than most. It's also easy for the foil to get scratched so being careful with your finished foiled project is a must.
Your best bet is to use super sticky adhesive to get the best transfer of the foil onto your project.
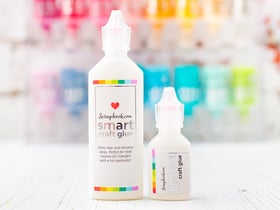
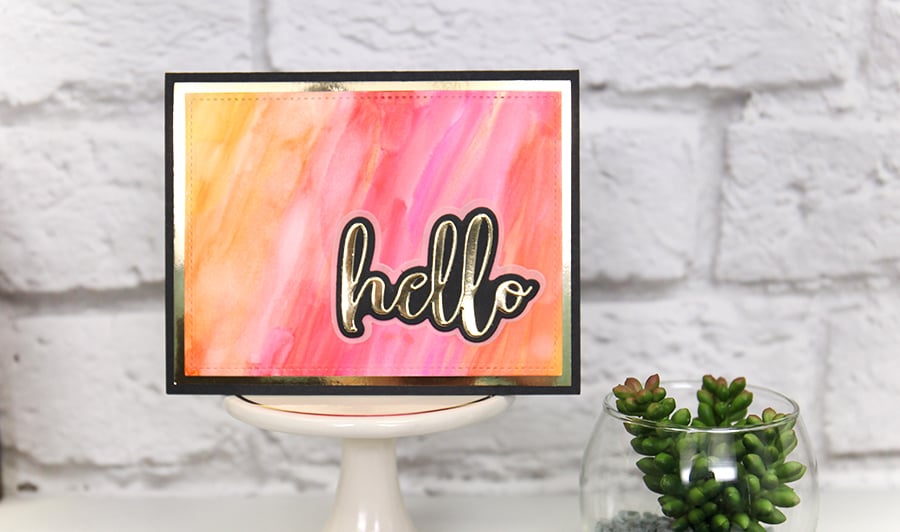
You can even use this same technique with a liquid glue pen. Just add a thin layer of details or words with your glue pen, allow it to dry to tacky, and then press the transfer foil on top to get the shiny layer to stick to the tacky glue - brilliant!
Bonus Technique - No Rules Foiling
 As a creative crafter, we know you will find endless possibilities for working with foil not outlined in this helpful how-to. Remember that you can write your own rules when it comes to foil and use all the shiny things however you please.
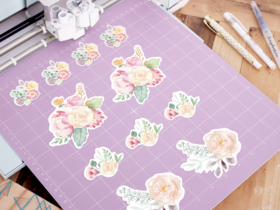
If you're new to foiling, and maybe want to see how it looks on your projects before investing in a system or machine, remember that all types of foil can be cut to size and glued to your project with a little liquid adhesive, or an adhesive sheet and smoothed out.
Try experimenting with die cutting pieces of adhesive-foiled cardstock into shapes and sentiments. Or place a piece of perfectly-sized foil behind a die cut window on your layout or card.
Play around with all the shiny possibilities and have fun!
We hope this comprehensive article has been helpful in eliminating a lot of the shiny grey area when it comes to foiling. Share helpful veteran foiling techniques and tips in the comments to help your fellow foiling friends so their crafting future can shine!