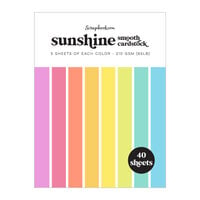
This article was originally written by Scrapbook.com founder Jill Davis and includes methods developed by Stacy Boatman. With her permission and help, her concepts and experiences are shared here as part of this approach to scrap organization.
This article will help you go through ALL of your paper and cardstock, purge what you won’t use, and organize it into a system that works for your space and your workflow.
Still deciding on storage? Start here: Scrapbook Paper and Cardstock Storage Ideas: Best Solutions for Every Craft Space
Materials Needed
- Containers (towers or holders) for your cardstock and paper
- A label maker
- A large work surface for sorting
The Challenge
To go through ALL of your paper and cardstock, purge what you won’t use, organize it into a system, and find the best place in your studio for its permanent home.
Cardstock and scrapbook paper can be tricky to organize because of space requirements and the sheer number of designs and colors available. Thankfully, it becomes easy—and even fun—when you have a plan.
Step 1: Choose Your Storage Direction
You have two primary choices when it comes to storing cardstock and paper:
Vertical Storage
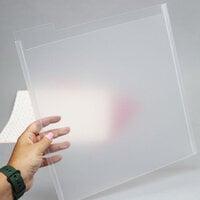
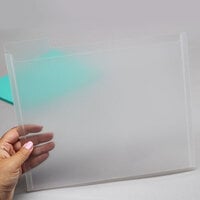
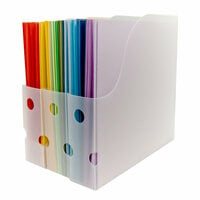
Paper stands upright in holders. It’s easy to flip through and see what you have, and it stays relatively dust-free.
The downside is that it takes up horizontal shelf space.
Horizontal Storage
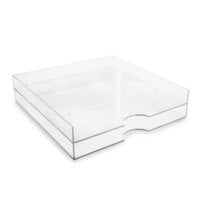
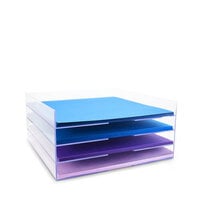
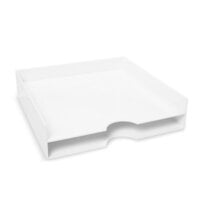
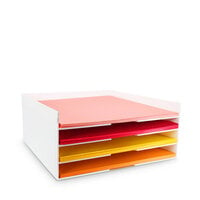
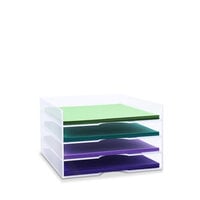
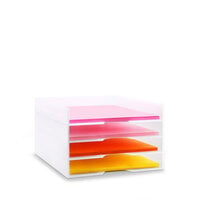
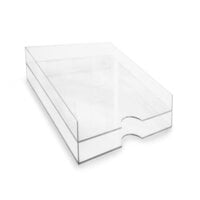
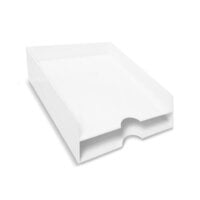
Paper is stacked in trays. This method uses vertical space efficiently but can make it harder to access papers at the bottom of stacks.
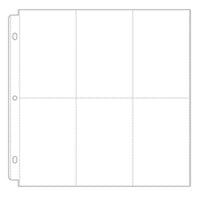
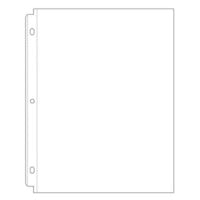
Tip: To reduce dust, place a 12x12 page protector on top of each stack. To make papers easier to remove, place a divider at the bottom of each tray to lift the stack.
Step 2: Explore Storage Options
There are many ways to store your paper. Choose what works best for your space and style.
Vertical Storage Options
- Hanging file folders in carts or cabinets
- Paper holders
- Wire cube systems
- Desktop files
- Shelving systems
- Baskets or expandable files
Horizontal Storage Options
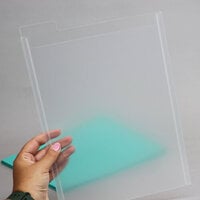
- Paper trays
- Lidded boxes
- Wire cube shelving
- Plastic drawers
- Literature sorters
- Stackable containers
If you can repurpose something you already have, use it. Your system should work for your space—not the other way around.
Step 3: Choose Your Organization Method
Now that you know how your paper will be stored, decide how you want to organize it.
- By Brand: Best if you use full collections
- By Color: Ideal for matching photos
- By Theme: Great for project-based layouts
- By Mood: Useful for design-driven scrapbooking
You can also combine these methods. You don’t have to be a purist—create subcategories if needed.
How Stacy Organizes Her Paper
Stacy organizes her paper by brand, color, and theme, but only stores one color per holder.
If a paper could fit multiple categories, she files it based on how she would look for it later—by pattern or theme.
She also learned that breaking apart collections can make them harder to reassemble later. To solve this, she keeps favorite collections grouped behind tabs within brand categories.
For specialty paper stacks, she either keeps them intact or breaks them apart depending on how often she uses them.
How I Organize My Paper
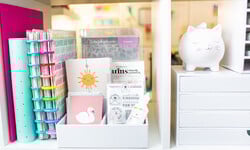
I store my cardstock and patterned paper in paper holders on open shelves.
I keep my system visually clean and consistent by labeling each container and making them part of my room décor.
I also leave room in each container for new paper coming in and old paper going out.
During my sorting process, I realized I had a large amount of paper I would never use. Once I let go of the guilt and donated it, I freed up space for what I truly love.
My Organization System
- Themes: Stored in secondary areas
- Collections: Only favorites stay grouped
- Color: Main organizing system (ROY G BIV)
- Mood: Used selectively for certain papers
Cardstock is stored near my workspace because I use it every time I create. Patterned paper is divided and stored alongside it.
Paper Sizes and Decisions
I originally scrapbooked in 8.5 x 11, but transitioned to 12 x 12 when it became more widely available.
It was a big change, but one I’ve never regretted. I still keep some smaller paper, but most of my system now supports 12 x 12 layouts.
Storing Page Protectors
I store page protectors in the same area as my paper because I use them immediately after finishing layouts.
This keeps my workflow efficient and consistent.
Labeling Tips
Labeling is a visual clue, and visual clues are guides. Objects in an arrangement can be difficult for the brain process when there’s too much clutter “visual noise”, or easy to see and process when the arrangement is orderly. I make labels in my studio easy to look at; the same font, the same color (white letters on a black background), consistent sizes, minimal information (just enough clues). A piece of red ribbon tied to a bin that holds red embellishments (that aren’t visible) will be processed faster than the words on the label. Let's review these tips:
- Use consistent fonts and colors
- Keep labels simple
- White text on black backgrounds improves readability
- Tie ribbon on bins to indicate color
An organized visual system reduces mental clutter and supports creativity.
Bonus: Organizing by Mood
Some scrapbookers organize paper based on mood or emotional tone.
This method allows you to match paper to the feeling of a photo or person rather than just color or theme.
It’s a more advanced system, but it can be very effective once you understand it.
Personality profiling has been an interest of mine for over 20 years. I’ve studied with the best from Donna O. Kearny to Carol Tuttle and find their skills and knowledge helpful with everything from how to dress, cut your hair, decorate a home, or organize patterned papers. Because I know the personality profiles of my family members, it’s easy for me to find cardstock and patterned papers that compliment photos of them, so they look natural. One of my granddaughters is regal (Group D) and never looks good in polka dots, so I don’t use dotted paper when scrapping photos of her, only striking and pure chroma color and regal designs.
Patterned papers can be organized and stored by mood (rather than theme, manufacturer or color) so they can easily be matched up with a photo. I personally start with my photo and the colors within when designing a layout, so having my papers sorted into ROY G. BIV works well.
Second, patterned papers that are mostly colored and patterned are sorted by color, and then sorted again into five sub groups. Following are the criteria for my colored patterned paper groups:
Patterned Paper Group A

Color: All colors that begin with pure chroma color and have white added, i.e.” tints”. Note: Cardstock colors in this category will coordinate with Group A patterned papers.
Temperature: Warmish
Pattern: Animated, circles, parts of circles, up and out movement, repetition, busy, buoyant, cute, not structured, princess-like or child-like.
Mood: Extroverted, friendly, bubbly, bouncy, high energy, silly, child-like, cute, cheerful, youthful, fireworks, giggly, lively
Patterned Paper Group B

Color: All colors that begin with pure chroma color and have gray added i.e. “tones”. Note: Cardstock colors in this category will coordinate with Group B patterned papers.
Temperature: Cool
Pattern: Flowing and elongated “S” curve, curved lines, graceful, flowing, minimal, soft vintage, complex, detailed, classic art, queen-like.
Mood: Soft, mysterious, slow-moving (like a slow moving river), graceful, flowing, minimal, cloudy, whispy, foggy, peaceful, thoughtful.
Patterned Paper Group C

Color: All colors that begin with pure chroma color and have black added i.e. “shades” and earth tones. Note: Cardstock colors in this category will coordinate with Group C patterned papers.
Temperature: Warm
Pattern: Vertical lines forming right angles (angular), geometric patterns, lightning bolts, bold, rough, defined, empress-like.
Mood: Assertive, dynamic, direct, confident, structured, informal, strong, casual, physical, earthy, irregular.
Patterned Paper Group D

Color: All colors that are pure chroma color i.e. “hues” without white, gray or black added. Note: Cardstock colors in this category will coordinate with Group D patterned papers
Temperature: Cool and clear
Pattern: Ovals, fast diagonal lines, parallel lines or columns, regal, crest, goddess-like
Mood: Striking, aloof, efficient, dramatic, polished, regal, sleek, stately, serious, intimidating, sophisticated, clear, accurate
Summary and Challenge
- Decide where your paper will live
- Choose vertical or horizontal storage
- Select your organization method
- Sort and purge your collection
- Set up containers and label everything
Once you’ve completely organized all your cardstock and paper you’ll begin to see what the rest of your space can become. For me, and I hope for you, organizing really does feel as good as it looks.
Your paper dilemmas will soon be solved. Congratulations!
Want to Keep Learning?
- 5 Mindset Shifts To Unleash Your Creativity
- Scrapbook Paper and Cardstock Storage Ideas: Best Solutions for Every Craft Space
- How To Sort And Store Your Scrapbook Paper Scraps
- The Ultimate Guide To Scrapbook.com Cardstock
- Everything You Need To Know About Paper
- Get Organized Class